DIGITAL PHOTO TIPS & TUTORIALS
STUDIO LIGHTING
"A good photographer is always eager to experiment in order to improve his craft. As such, since the learning process is never ending, photography is often seen as an evolving art form." -MICHAEL GABRIEL
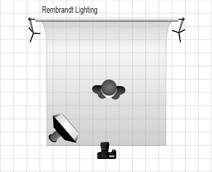
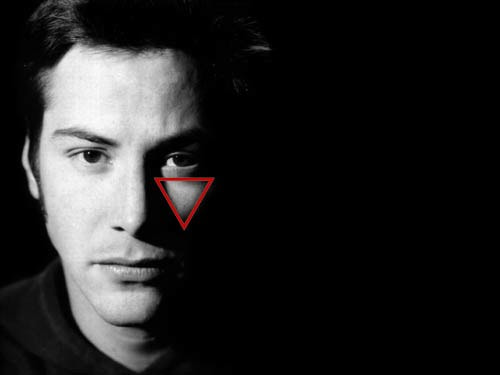
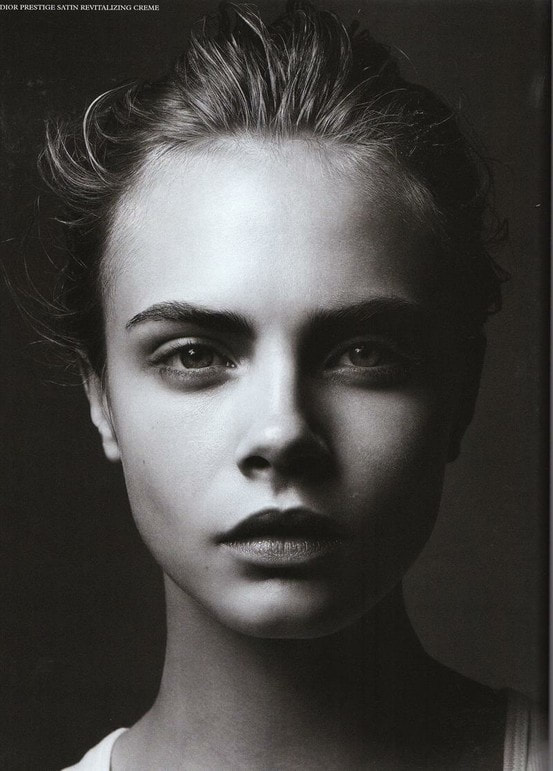
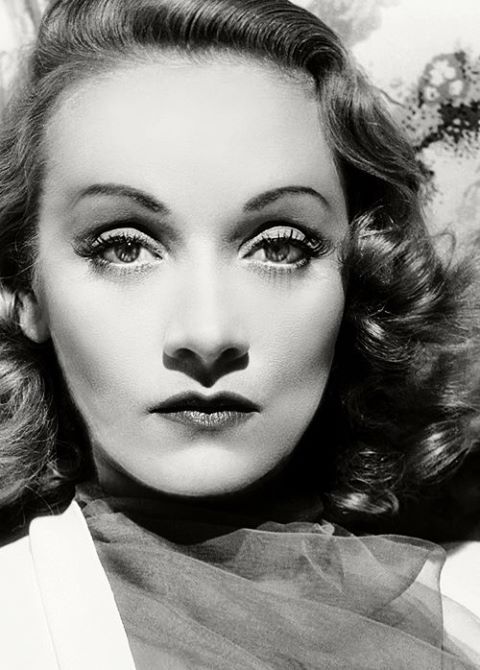
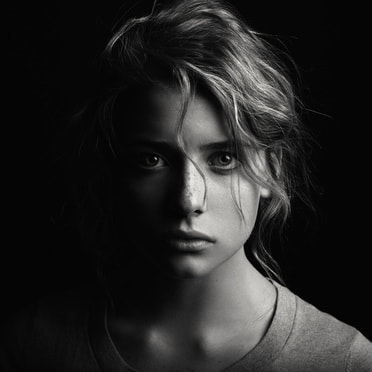
REMBRANDT LIGHTING
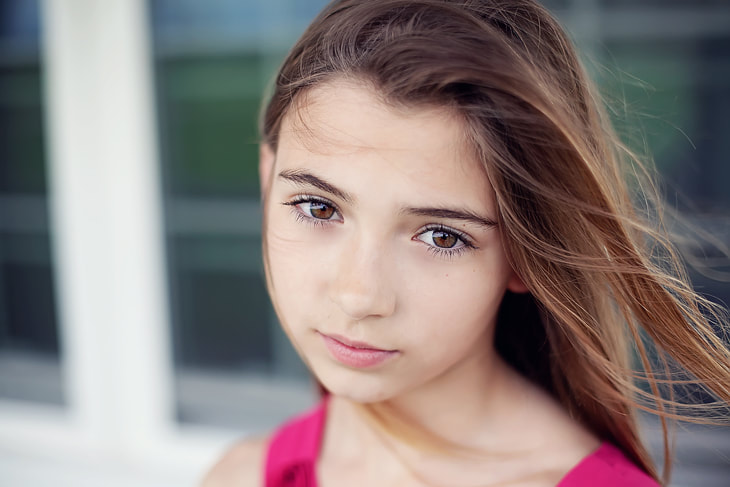
Rembrandt lighting is a lighting technique that is used in studio portrait photography. It can be achieved using onelight and a reflector, or two lights, and is popular because it is capable of producing images which appear both natural and compelling with a minimum of equipment.
Notes: Position lighting 45 degrees from subject's nose and 45 degrees angled down.

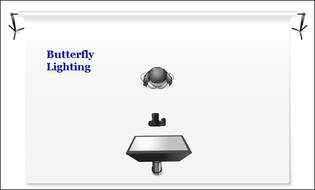
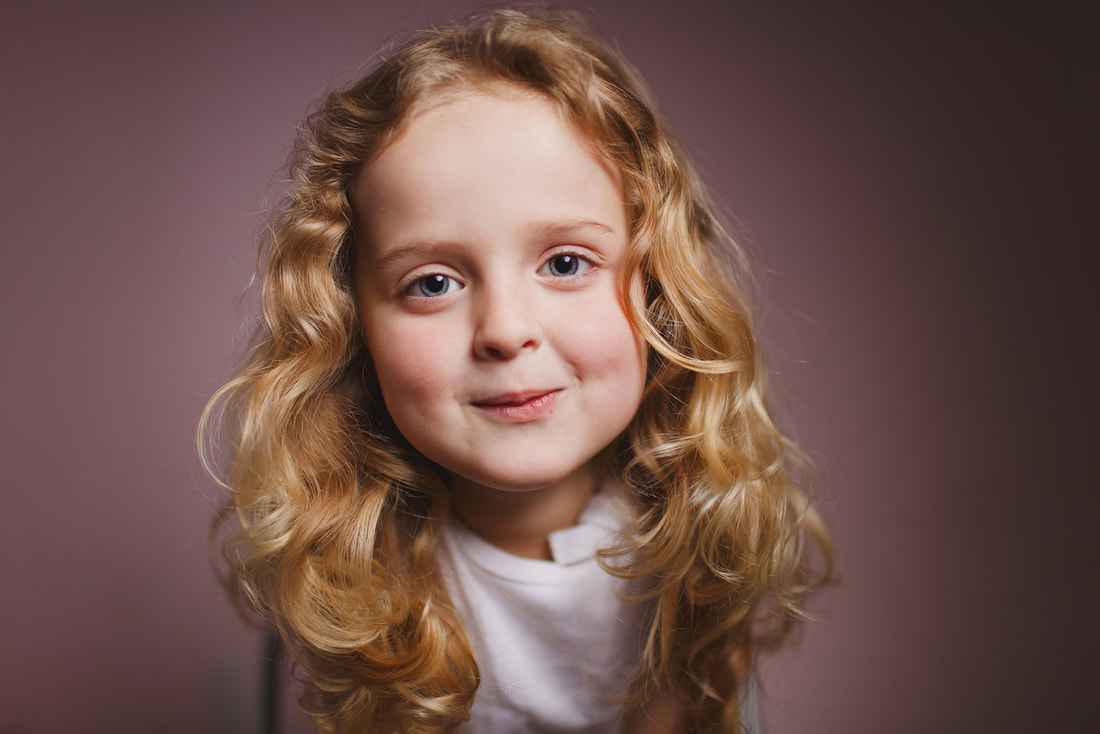
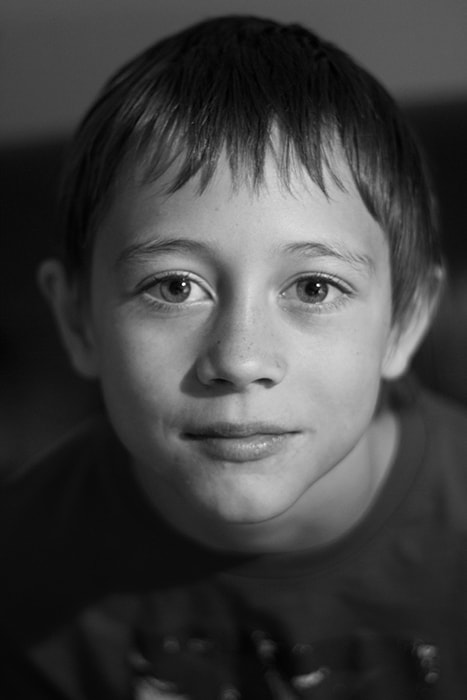
BUTTERFLY LIGHTING
Butterfly lighting is one of the oldest techniques for lighting a subject. Named for the butterfly-shaped shadow that forms underneath the subject's nose, this setup is a proven method to ensure your subject is well-lit in a pleasing manner.
Notes: light right in front of subject but very very high above. Angle light down to subject.
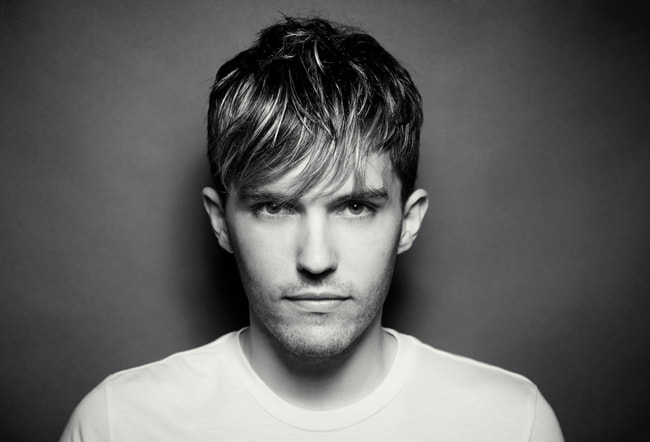
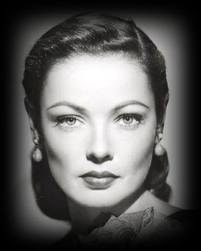
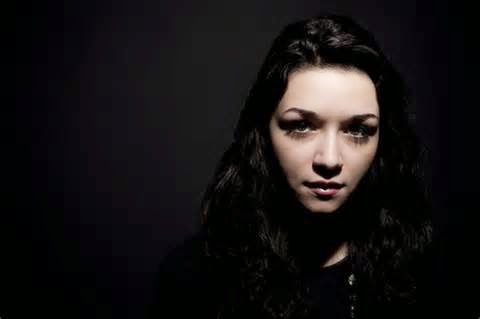
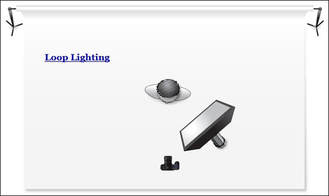
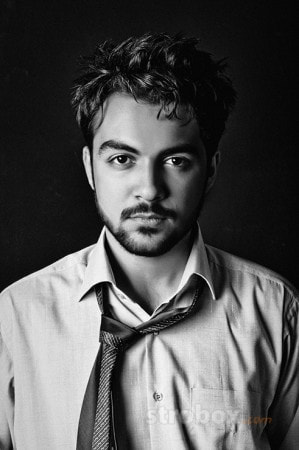
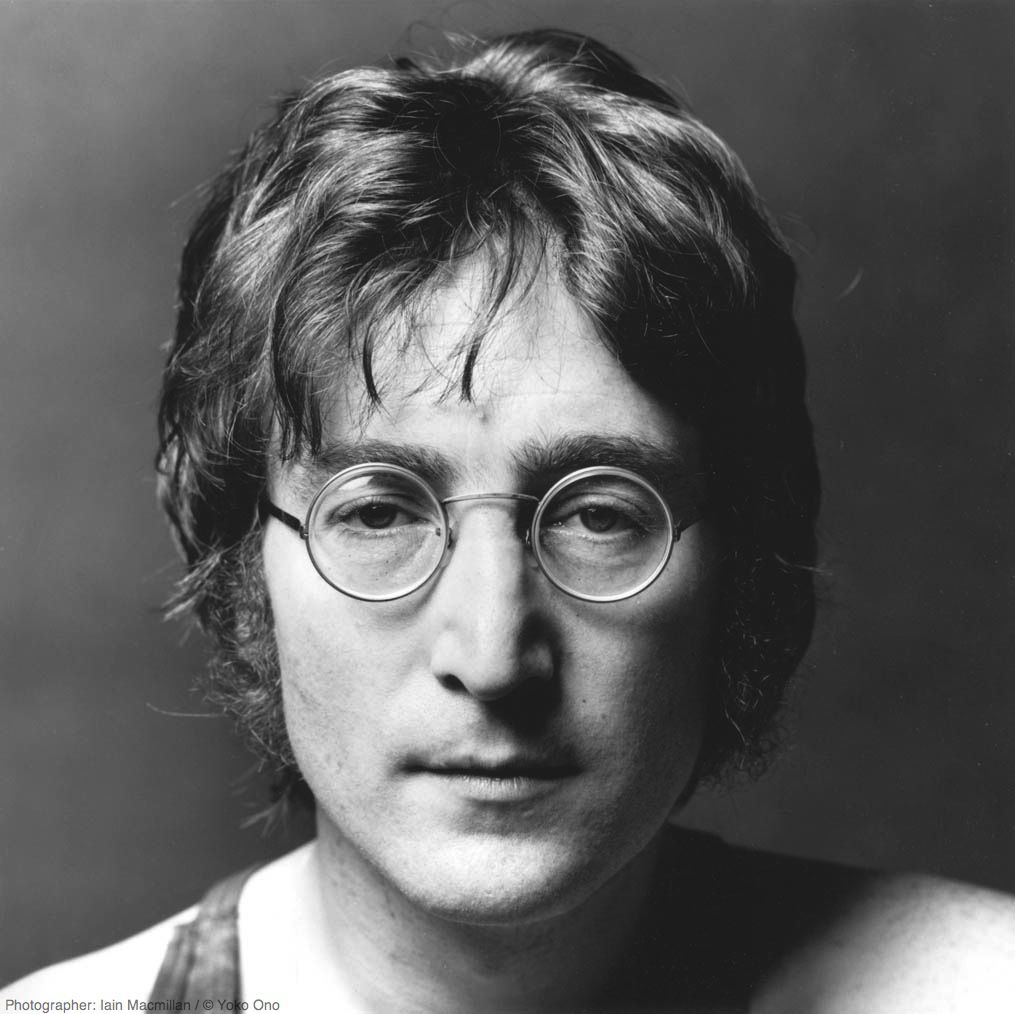
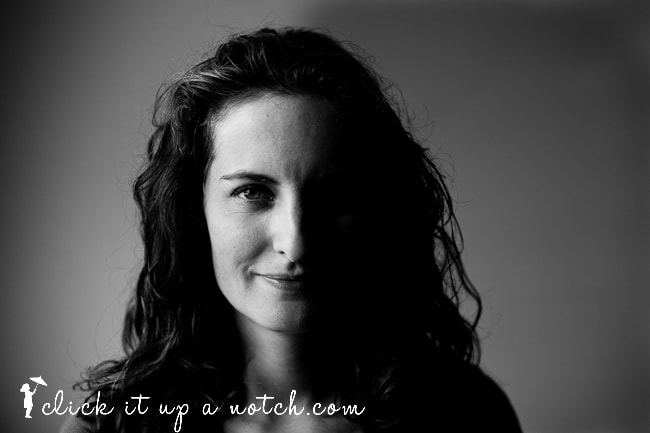
LOOP LIGHTING
Loop lighting is one of the most popular lighting techniques due to its simplicity and suitability to almost all types of subject. The name 'loop' comes from the appearance of the shadow this type of lighting creates under the subject's nose, shaped like a loop.
Notes: light to the side and above subject. Very close to rembrandt but the shadows don't close.


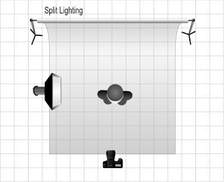
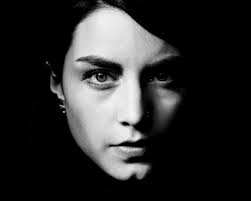
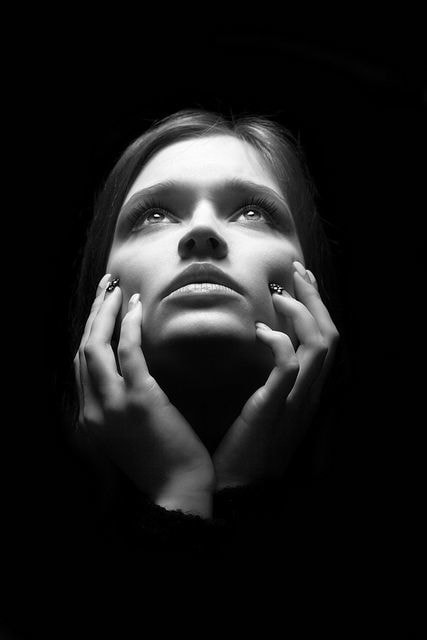
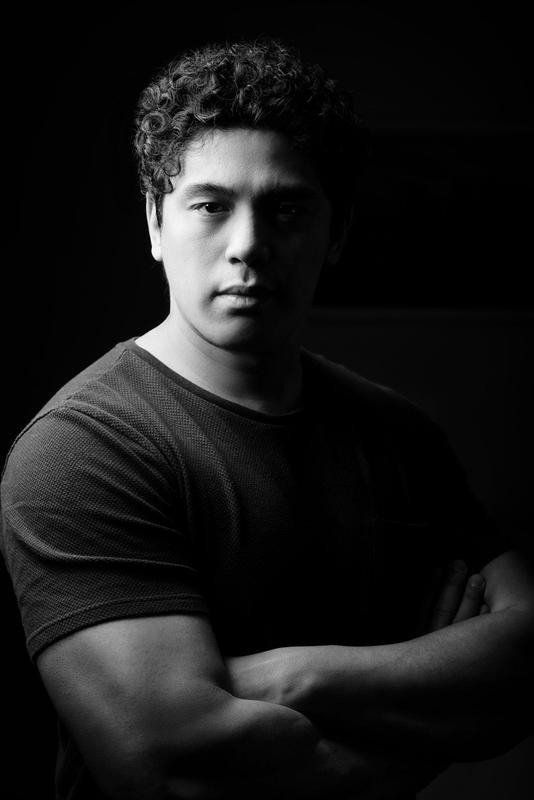
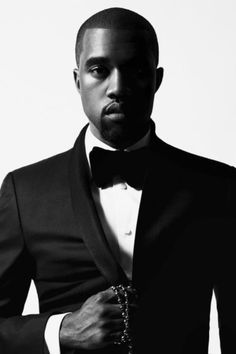
SPLIT LIGHTING
Split lighting is a technique that produces a sense of drama to a portrait. This form of lighting is when half of the subject's face is lit, while the other half is left dark. The light is evenly divided over the subject.
Notes: light to the right or left of subjects face. Light height closer to subject height and less angled (straight on).
*the more the light is in front of the subject, the more feathered and soft the light will be.


Camera Setting Tips for Studio Lighting
- Set the lowest ISO possible to keep quality high (400 for continuous 100 for flash)
- Open your aperture (f4-5.6 continuous f8 for flash)
- tripod can help steady camera for lower shutter speeds
COMPOSITION PART 2
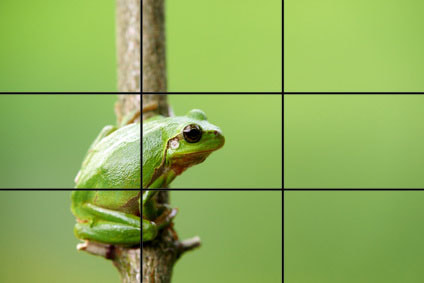
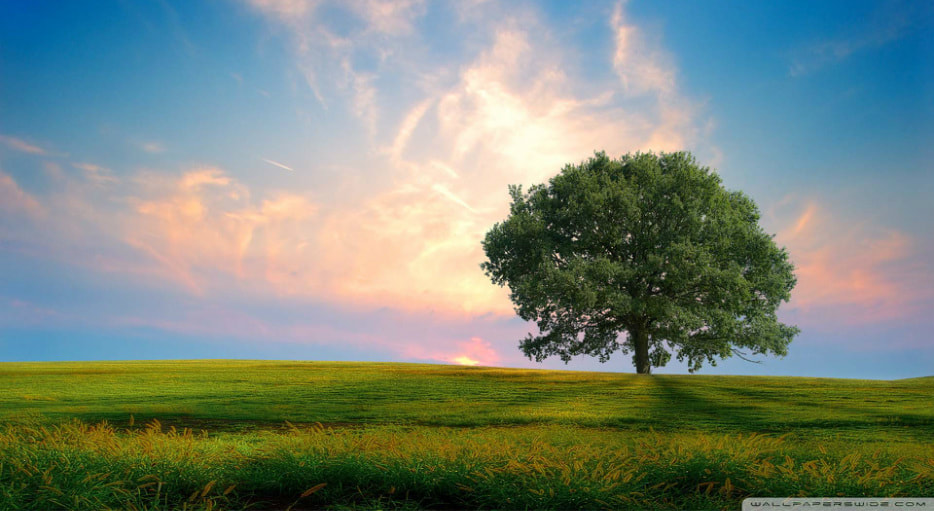
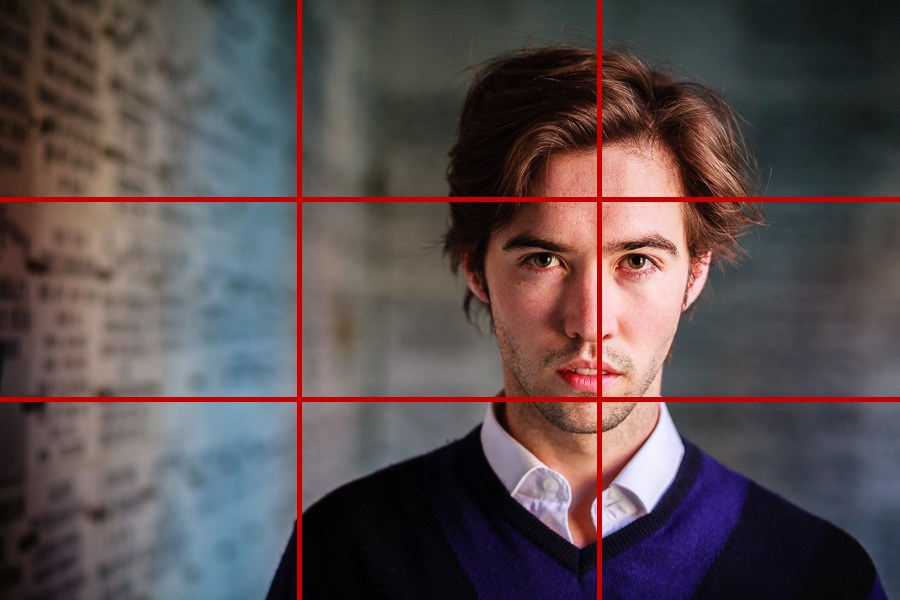
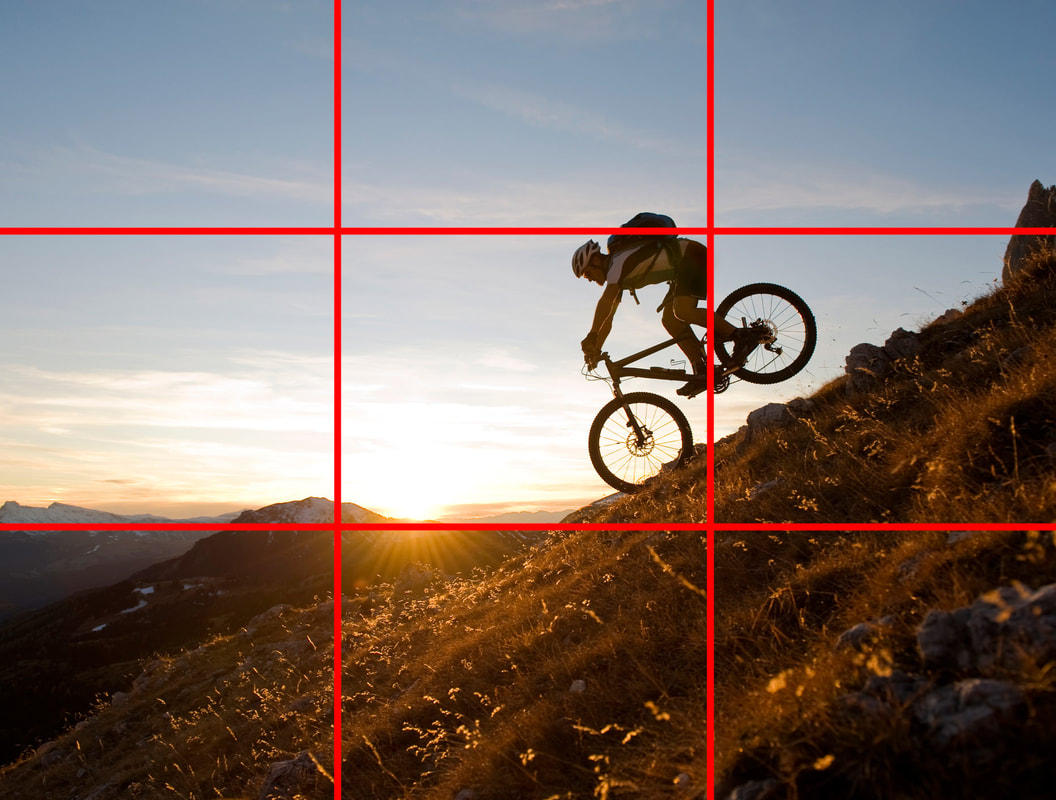
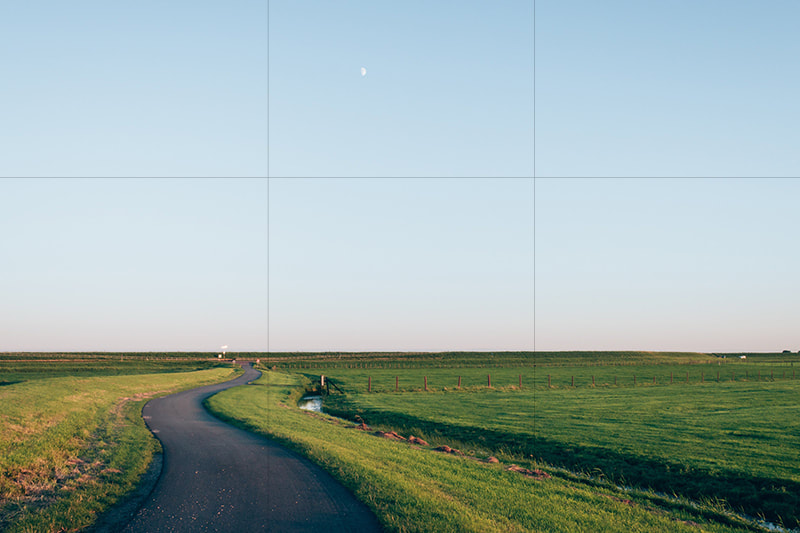
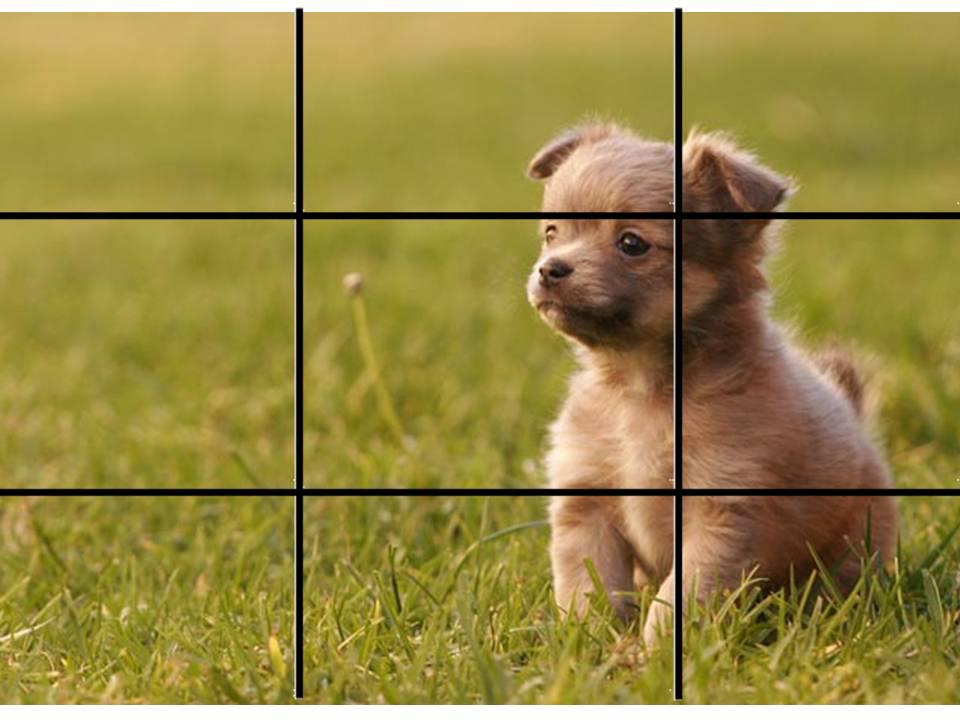
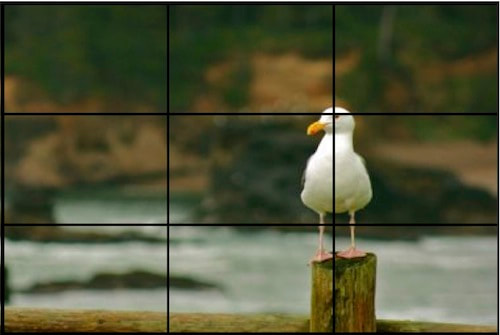
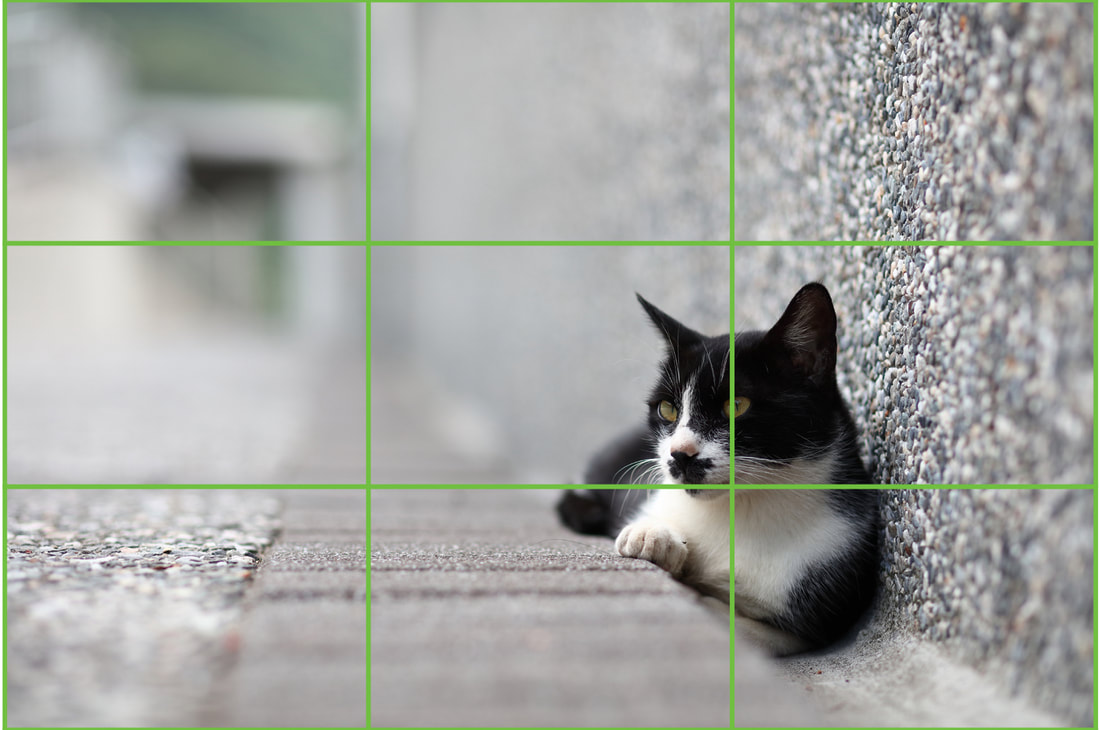
Rule of Thirds

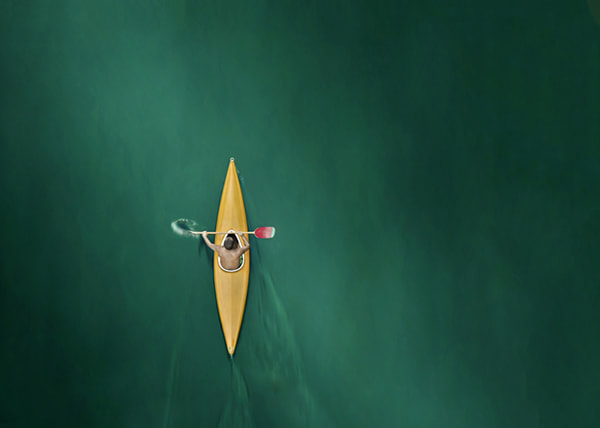
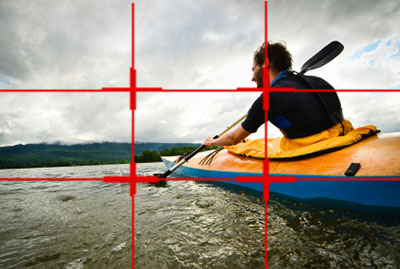
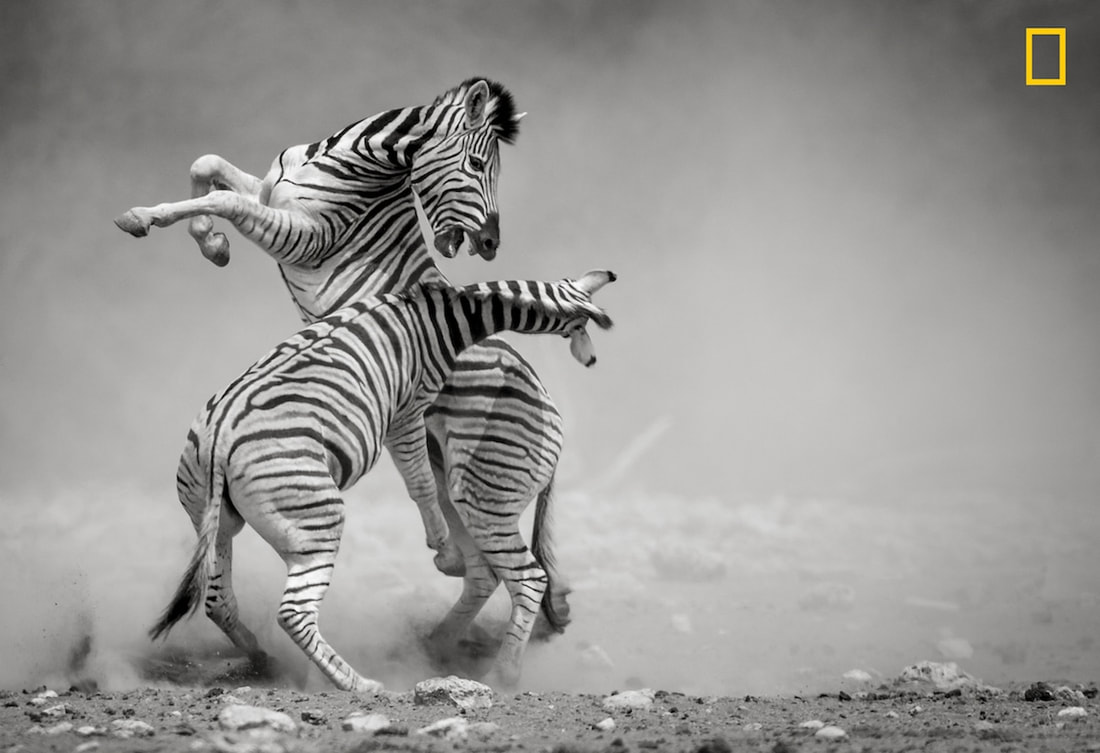
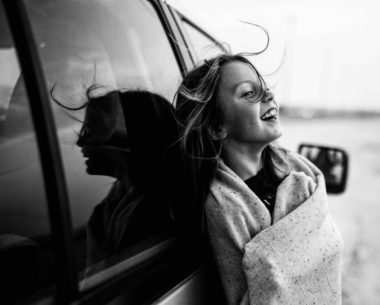


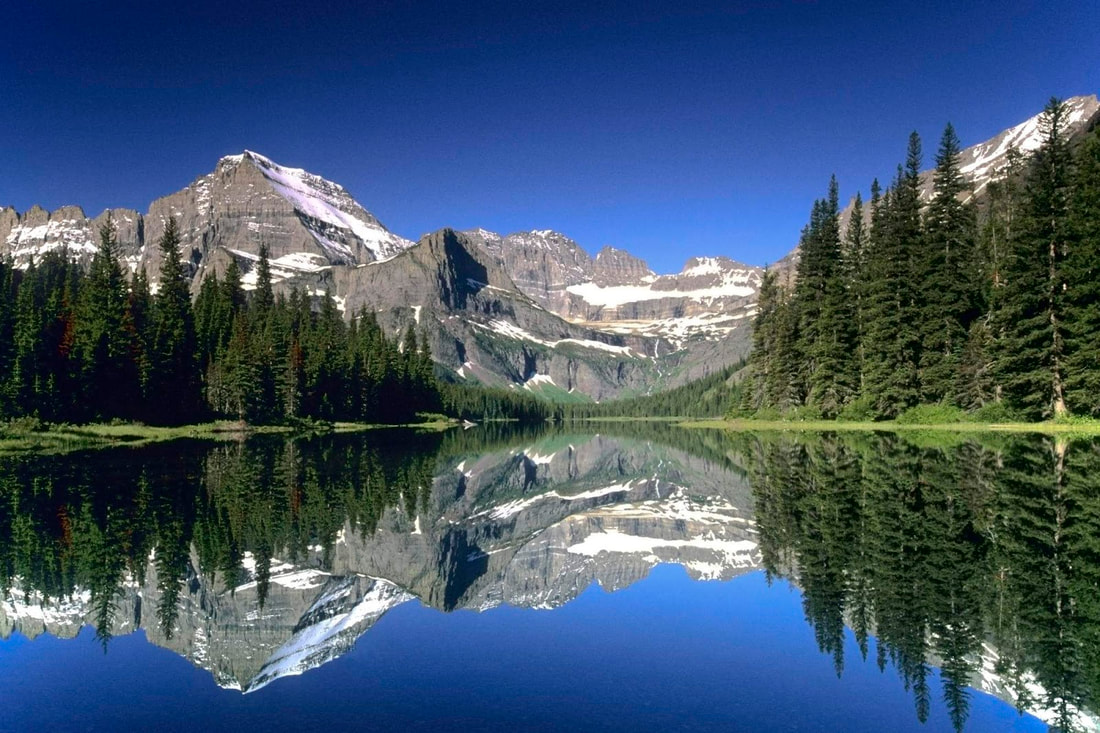
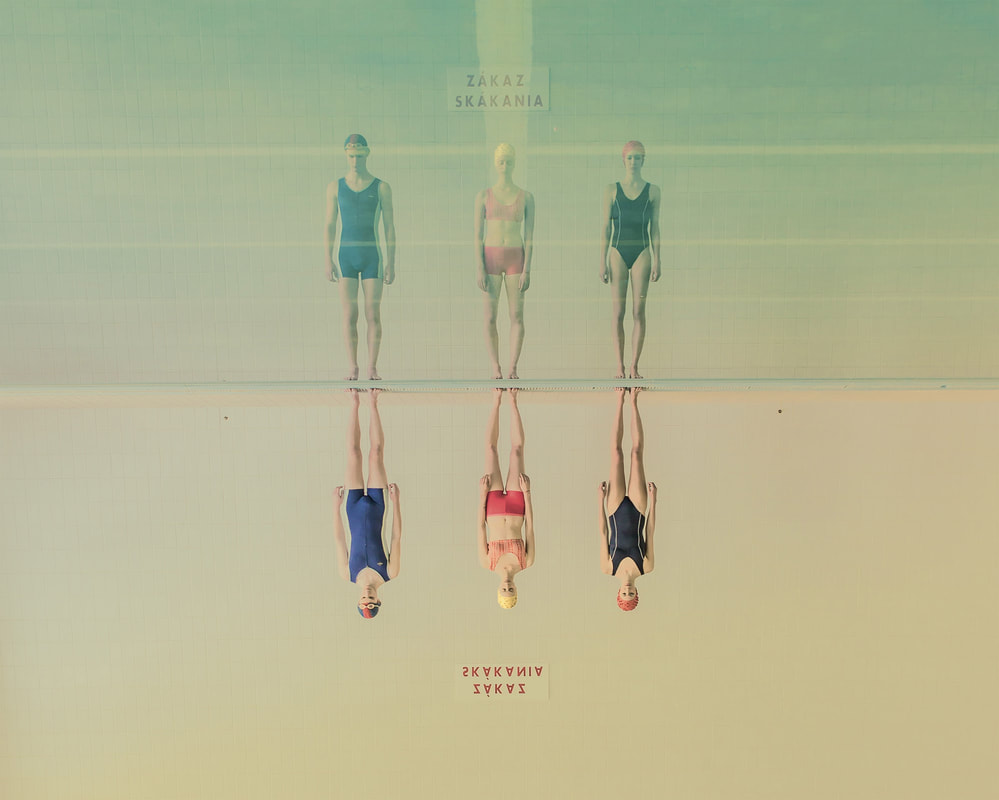
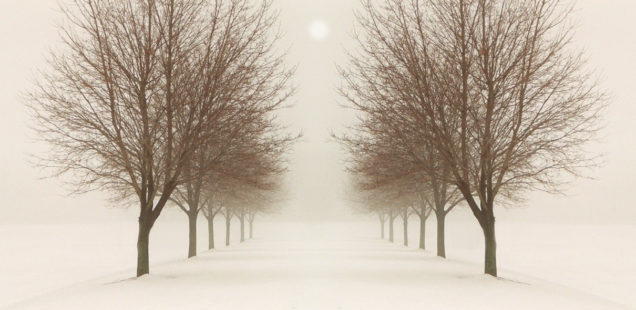
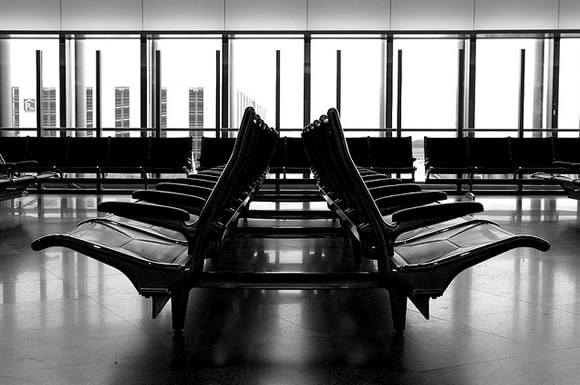
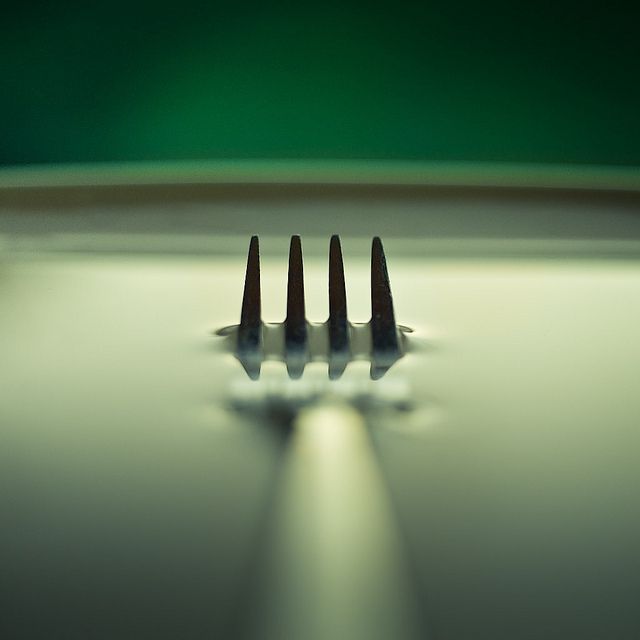
Symmetry

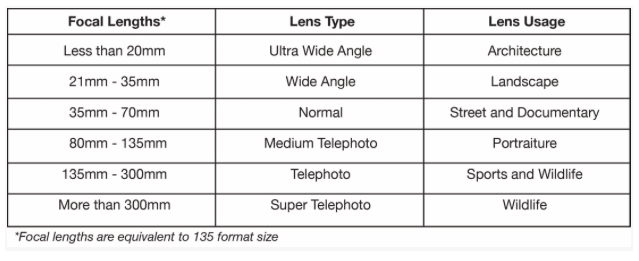
LENSES & FOCAL LENGTH
LENSES
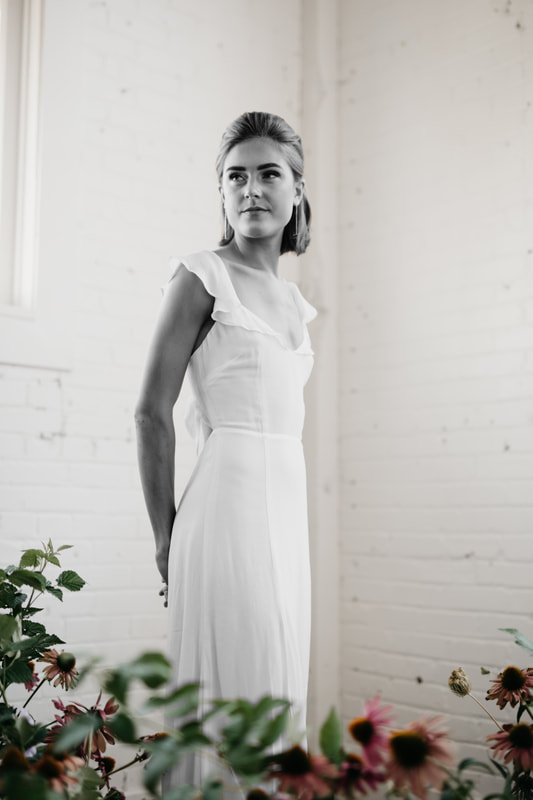
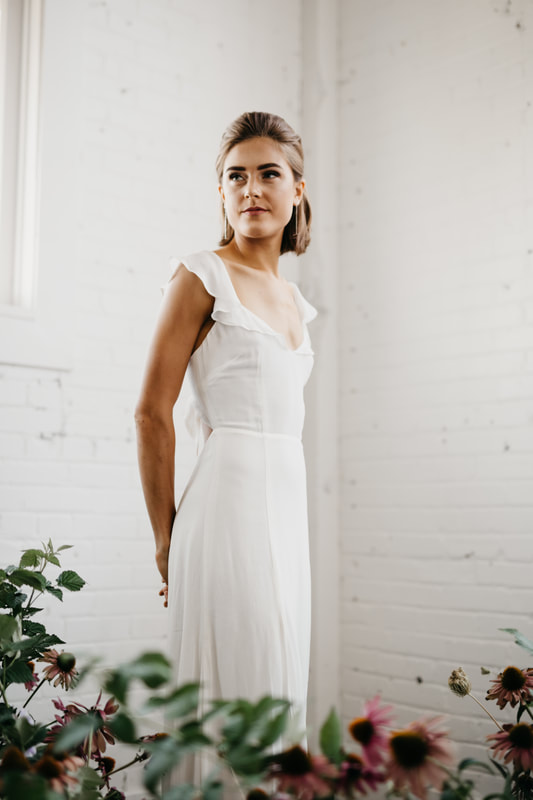
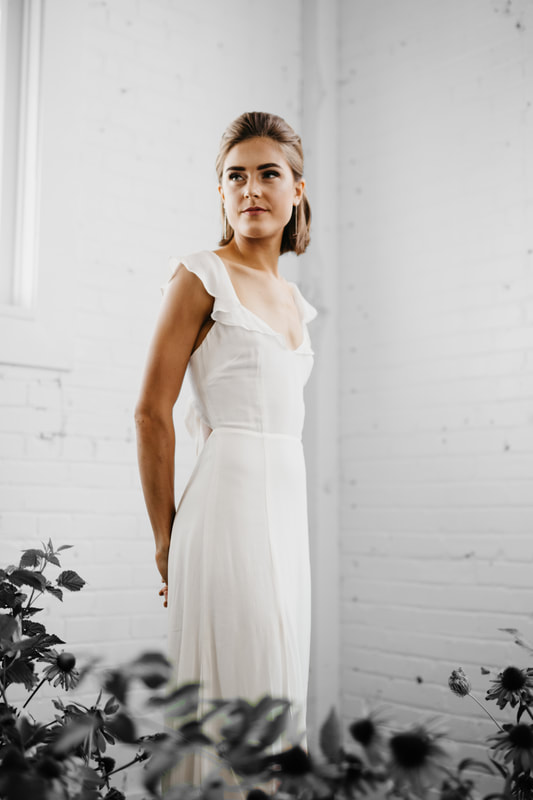
1. BACKGROUNDS
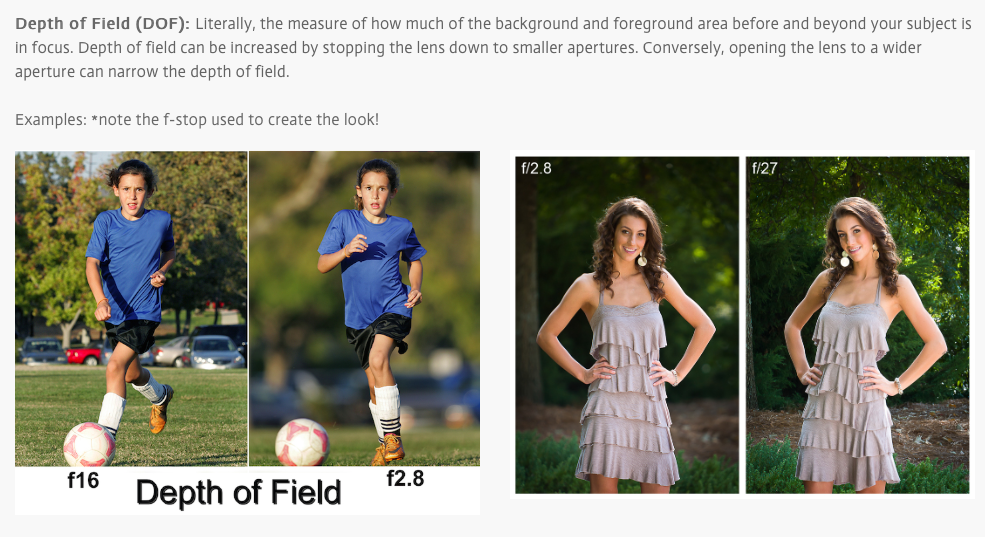
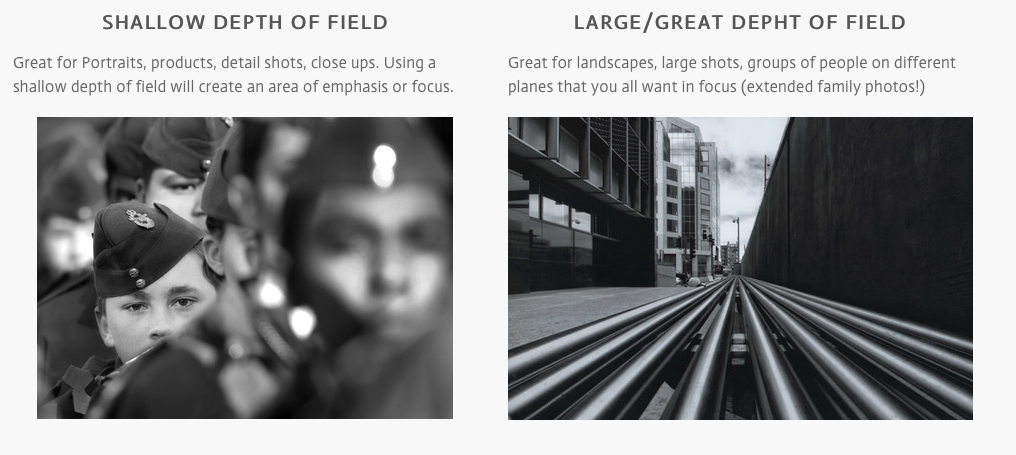
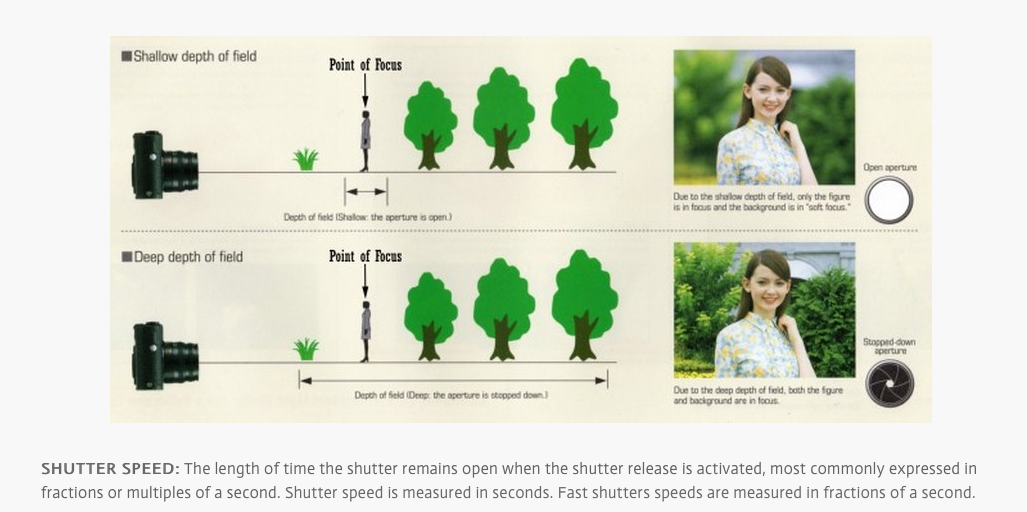
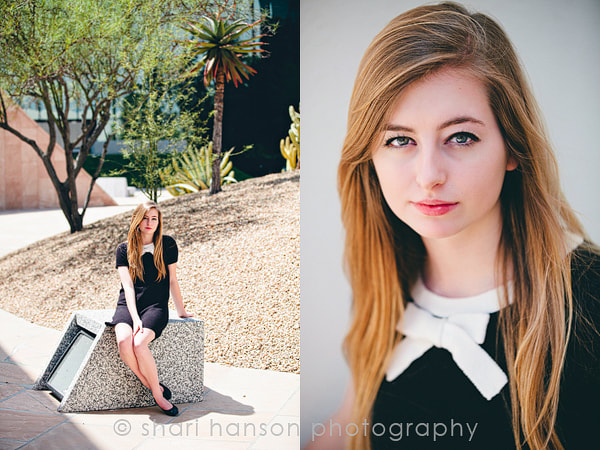
When taking a portrait, you want it to be clear this is about your SUBJECT. Avoid busy backgrounds. Avoid MERGERS (things sticking out of the head). And shoot with a shallow depth of field to blur out the background.
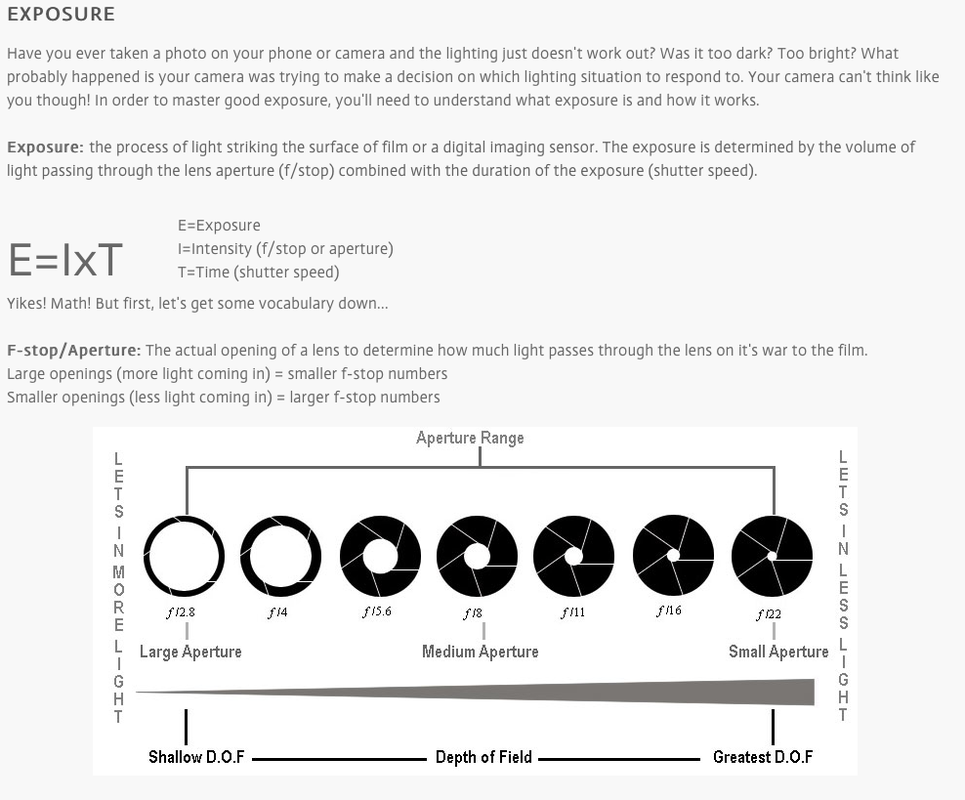
2. APERTURE
When shooting portraits, it's best to set a wide aperture (around f/2.8-f/5.6) to capture a shallow depth of field, so the background behind your subject is nicely blurred, making them stand out better.
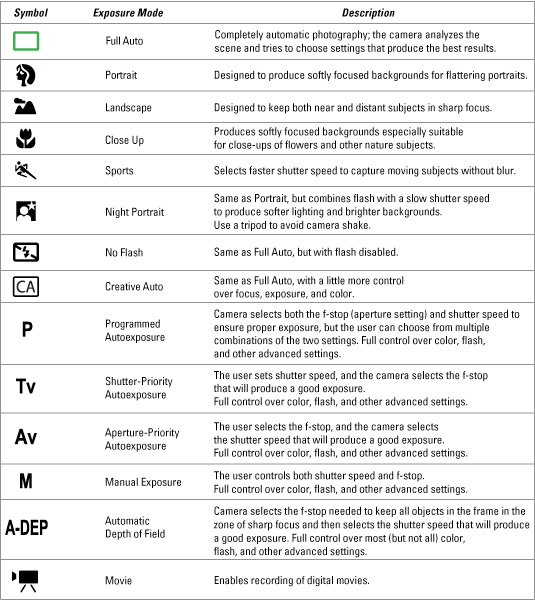
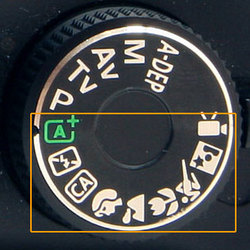
Shoot in Aperture Priority mode to control depth of field; in this mode your DSLR will helpfully set the shutter speed for a correct exposure.
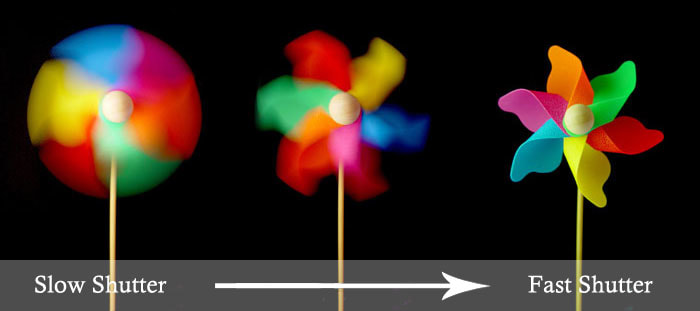
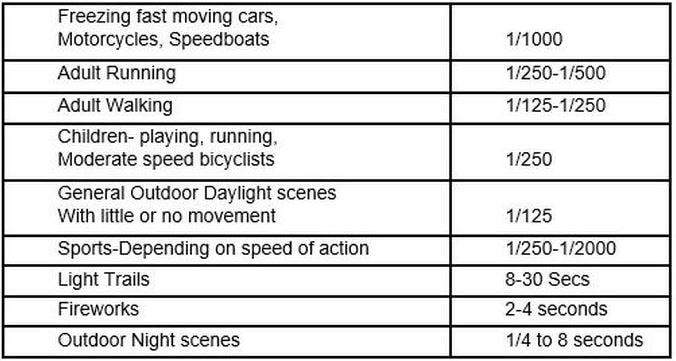
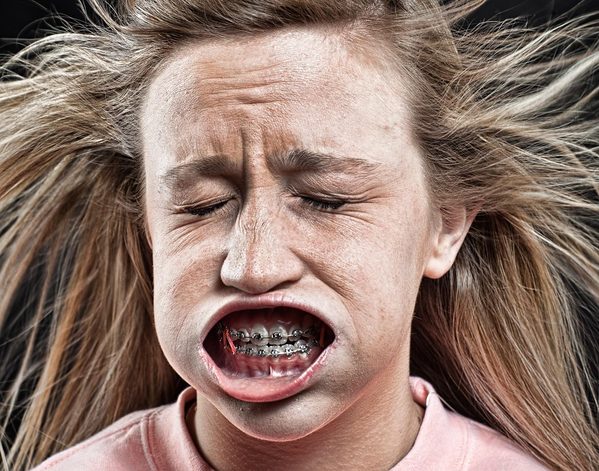
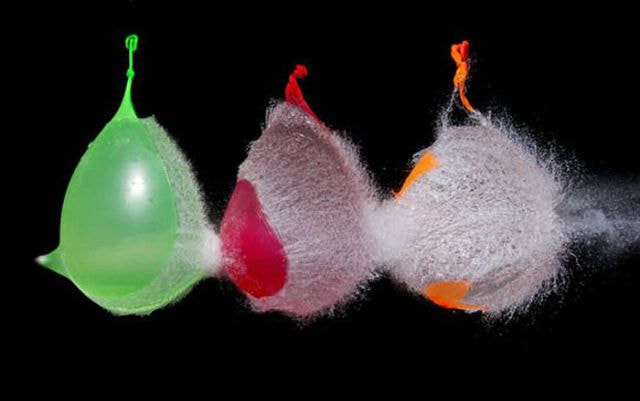
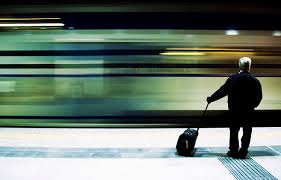
3. SHUTTER SPEED:
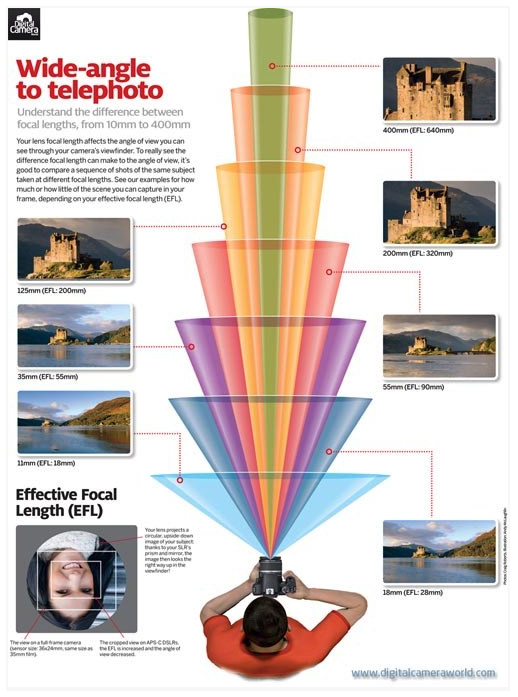
As a general rule, make sure your shutter speed is higher than your effective focal length. For example, at 200mm use a 1/250 sec shutter speed or faster.
This also means you can get away with slower shutter speeds when using a wide-angle lens - such as 1/20sec with an 18mm focal length.
4. COMPOSITION
Whatever composition you decide to use, be deliberate!
5. LIGHT!
You are using 400 ISO (don't forget it!) you need light to make these photos happen. Avoid direct sunlight or sun at high noon (less flattering on the face.
Look for:
6. FOCUS
Our eyes naturally want to meet other's eyes even when we are just looking at the photograph. Make sure the eyes are in focus when taking a photos of the face
7. MOVE IT!
Don't become stagnant. Move around! Try out these 6 different poses:
When taking a portrait, you want it to be clear this is about your SUBJECT. Avoid busy backgrounds. Avoid MERGERS (things sticking out of the head). And shoot with a shallow depth of field to blur out the background.
2. APERTURE
When shooting portraits, it's best to set a wide aperture (around f/2.8-f/5.6) to capture a shallow depth of field, so the background behind your subject is nicely blurred, making them stand out better.
Shoot in Aperture Priority mode to control depth of field; in this mode your DSLR will helpfully set the shutter speed for a correct exposure.
3. SHUTTER SPEED:
As a general rule, make sure your shutter speed is higher than your effective focal length. For example, at 200mm use a 1/250 sec shutter speed or faster.
This also means you can get away with slower shutter speeds when using a wide-angle lens - such as 1/20sec with an 18mm focal length.
4. COMPOSITION
Whatever composition you decide to use, be deliberate!
- Leading Lines
- Rule of Thirds
- Point of View
- Symmetry
- Asymmetry
5. LIGHT!
You are using 400 ISO (don't forget it!) you need light to make these photos happen. Avoid direct sunlight or sun at high noon (less flattering on the face.
Look for:
- Open Shade
- Natural Light
- Window Light
- Interesting Shadows
6. FOCUS
Our eyes naturally want to meet other's eyes even when we are just looking at the photograph. Make sure the eyes are in focus when taking a photos of the face
7. MOVE IT!
Don't become stagnant. Move around! Try out these 6 different poses:
- Full Body Standing
- Full Body Sitting
- Half Body (be careful not to cut off at "Joints")
- Close up portrait
- Profile/shooting from a dramatically different angle
- Details (hands/shoes/eyes/etc.)
PORTRAIT PHOTOGRAPHY
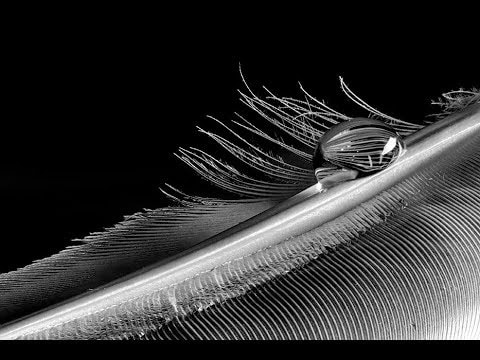
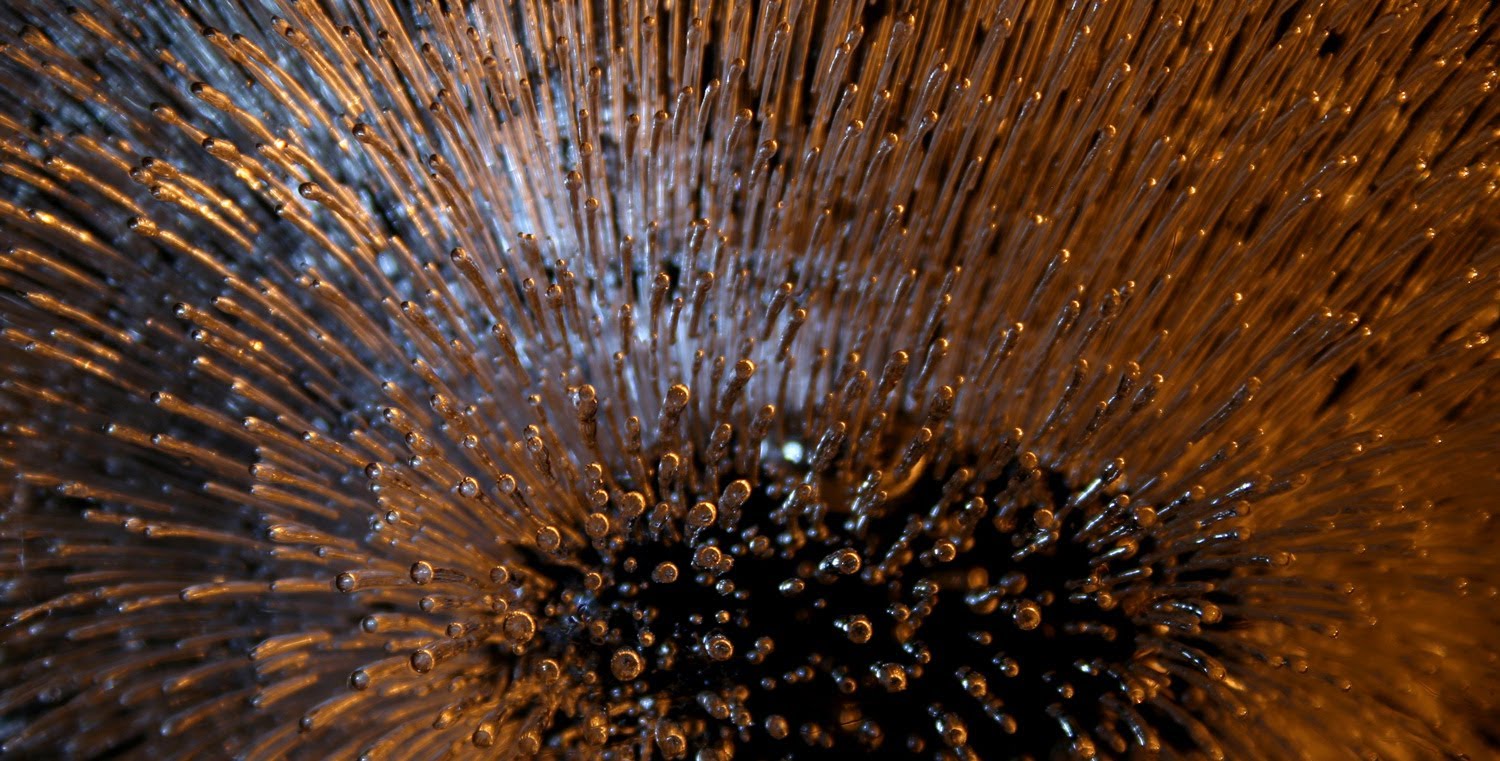
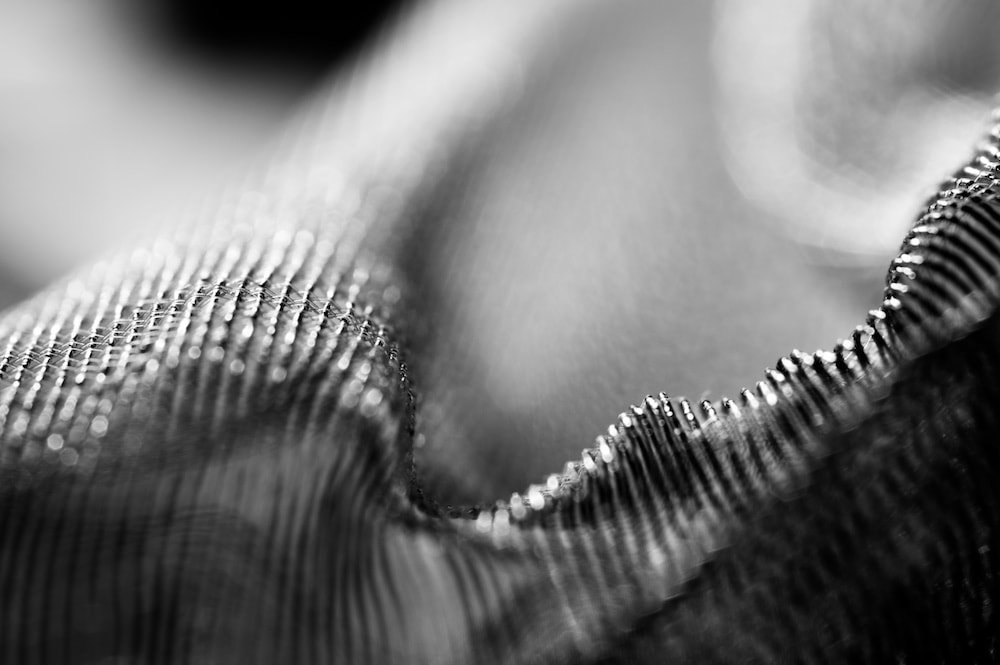
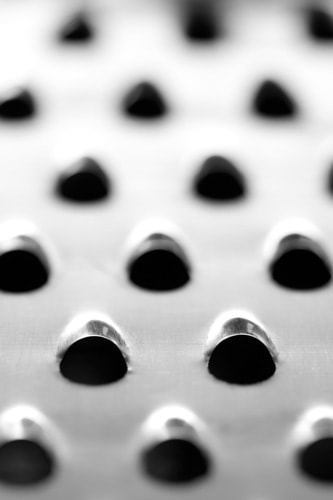
ABSTRACT MACRO

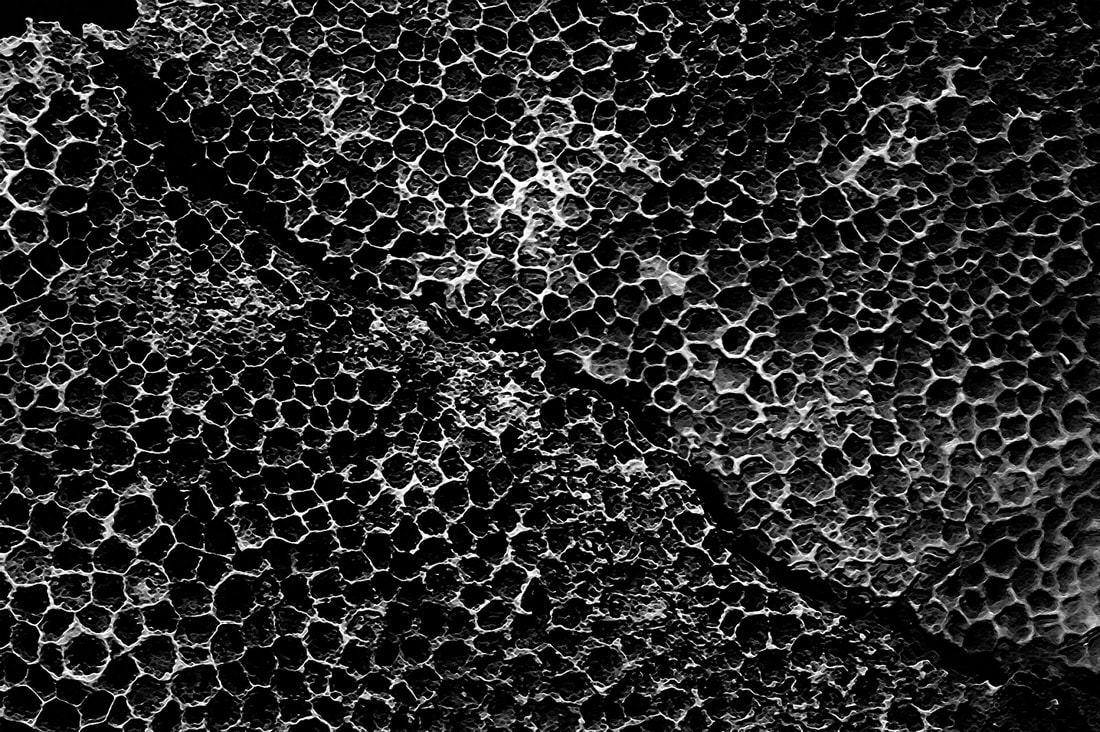
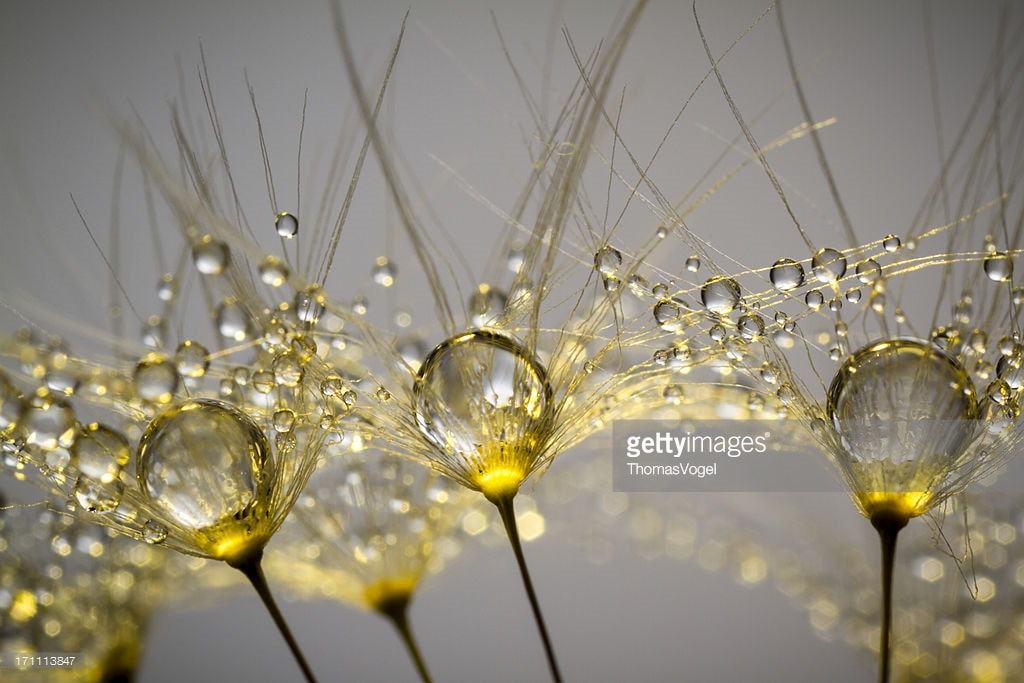


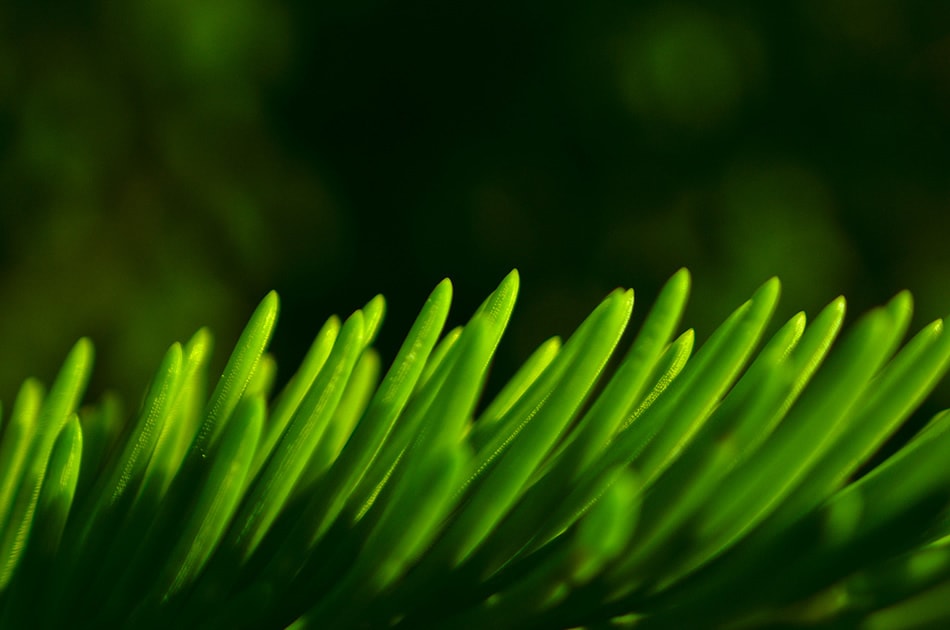
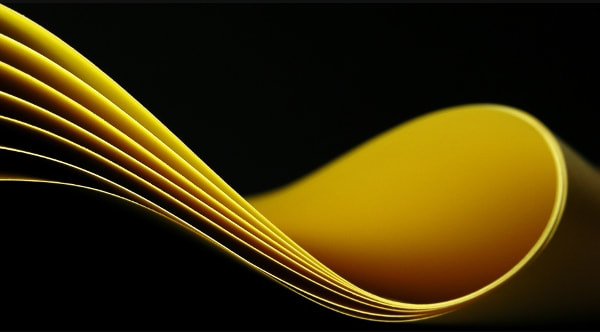

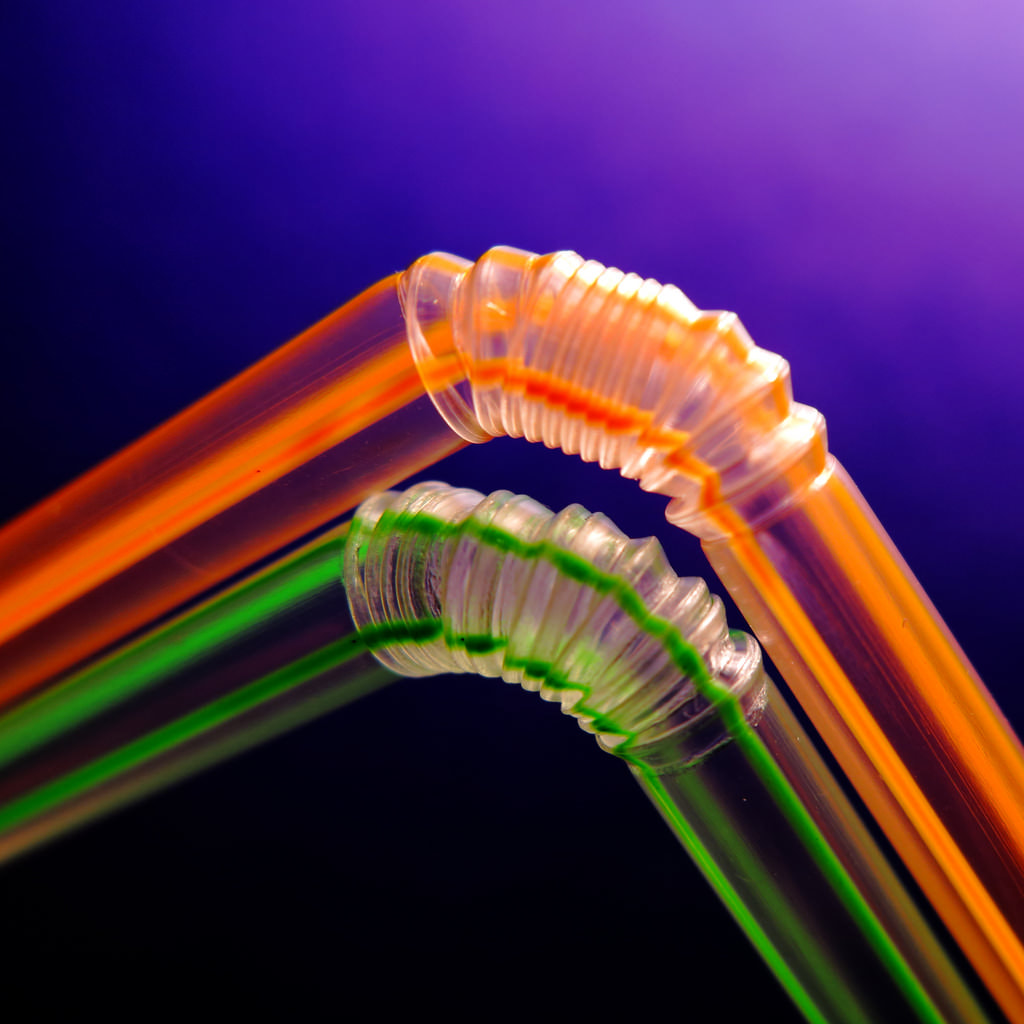
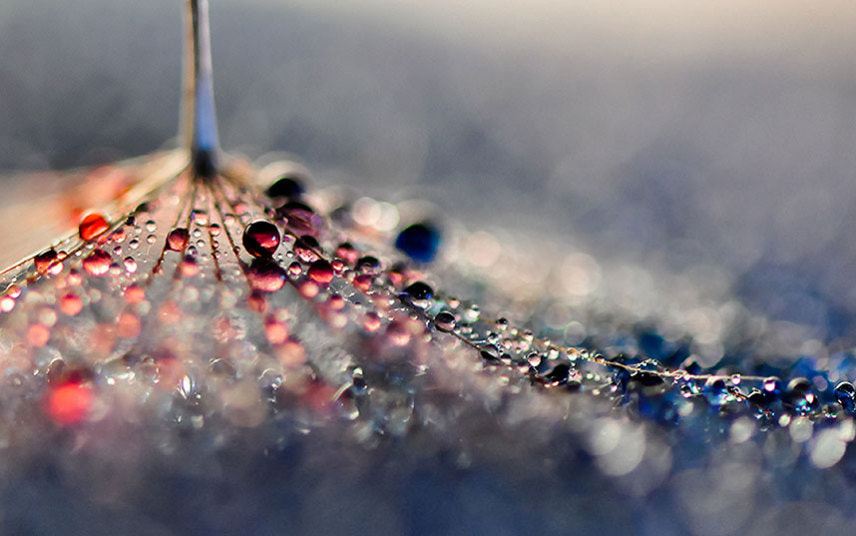
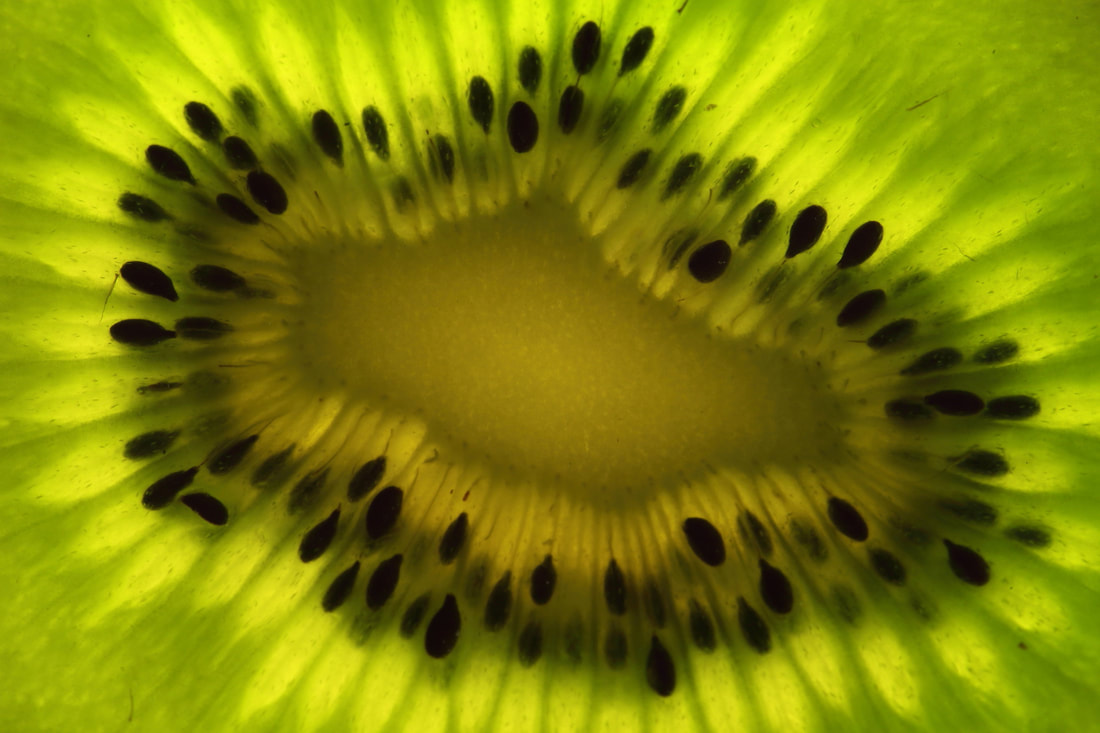


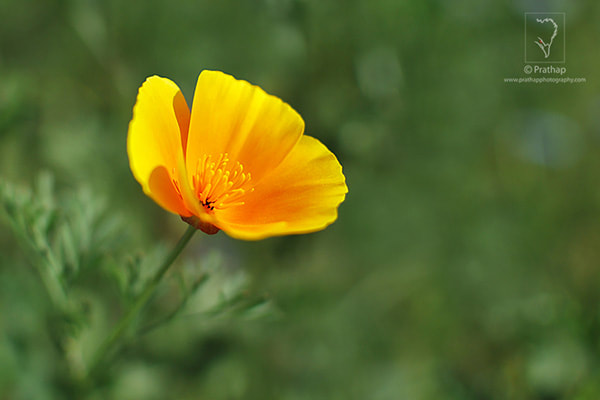
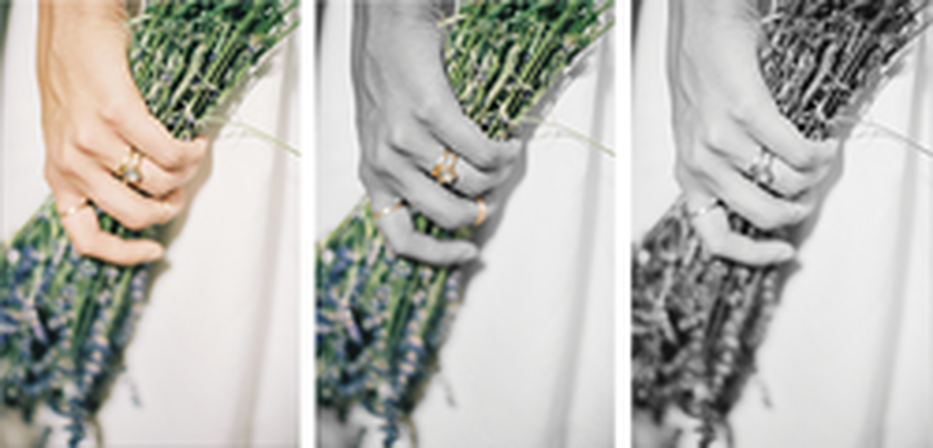
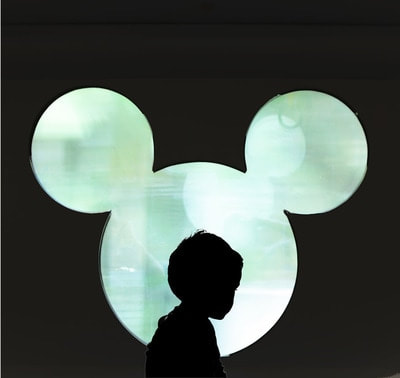
POP of color
When taking your photos, look for or create situations where colors are already popping!
Colors with hard lines (contained colors) are easier than colors that have fade or gradients.
You are welcome to take photos from home too!
Colors with hard lines (contained colors) are easier than colors that have fade or gradients.
You are welcome to take photos from home too!
COLOR SELECT EXAMPLES
ERASING TOOL
MAGNETIC LASSO TOOL/POLYGONAL LASSO TOOL

| copy_of_history_of_digital_photo.pdf |
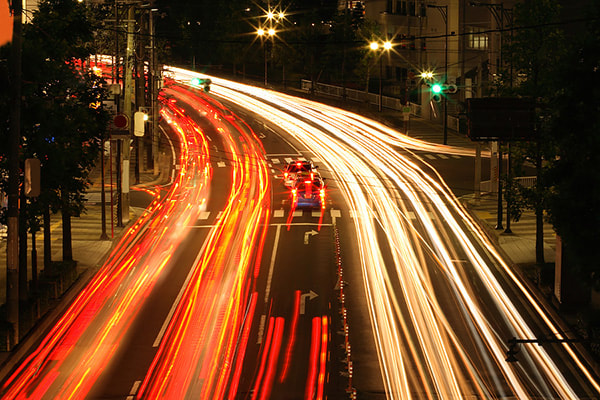
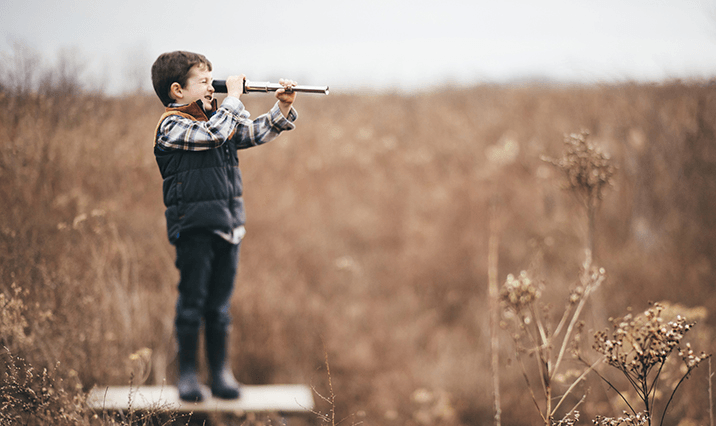
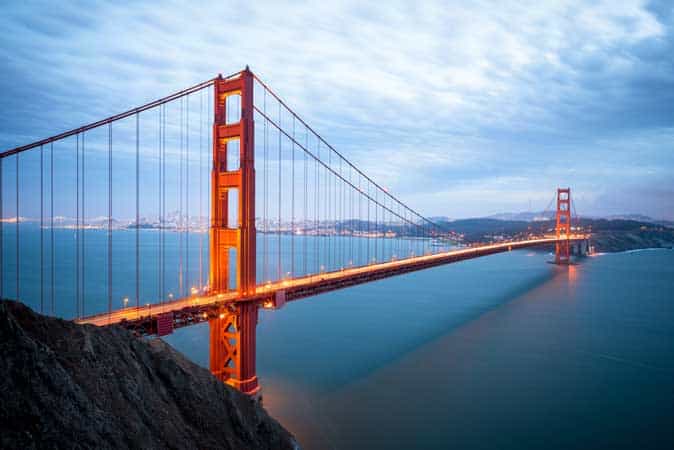
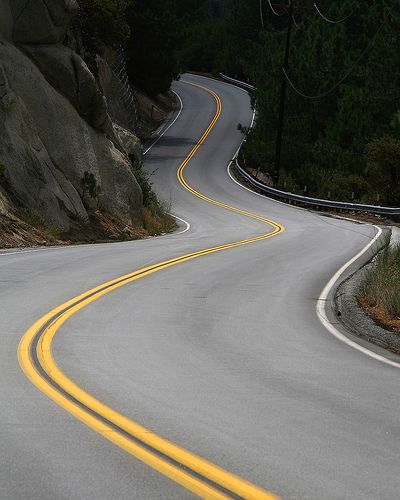
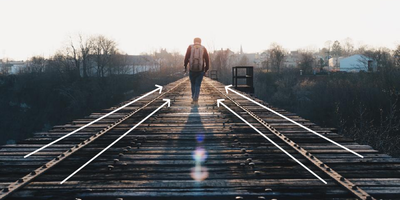
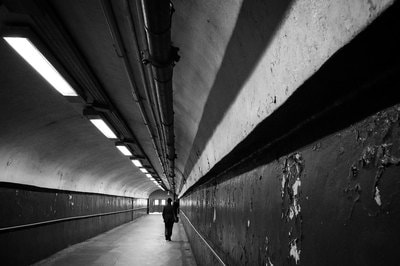
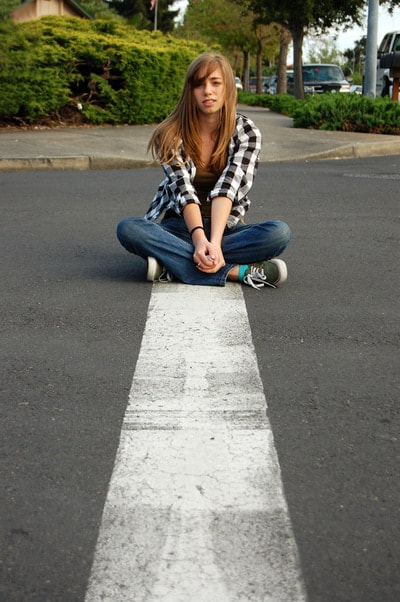
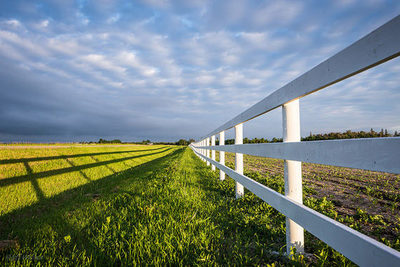
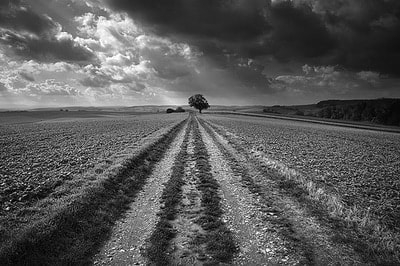
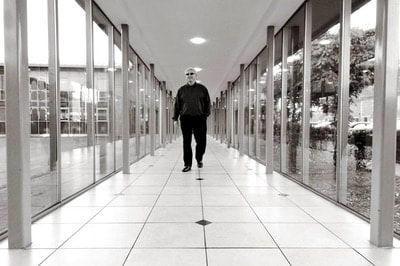
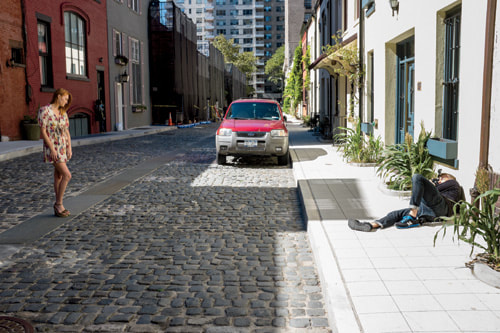
COMPOSITION: Leading Lines
Leading lines are one of the most useful elements in photography. They can be used to create powerful images with a strong visual impact. Leading lines help draw the eye into the image and focus the viewer's attention on the main subject. They're also an excellent means of creating depth and symmetry.


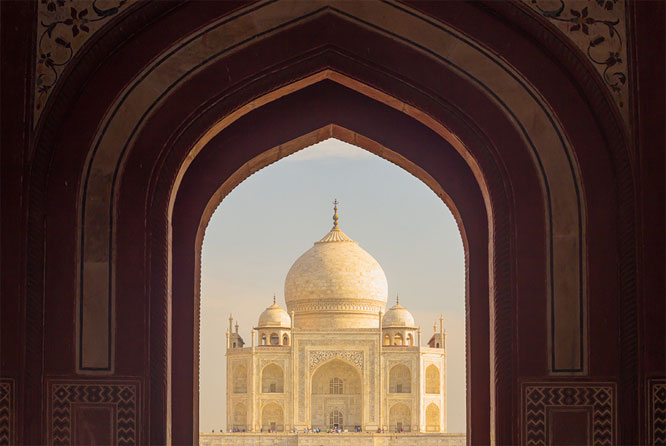
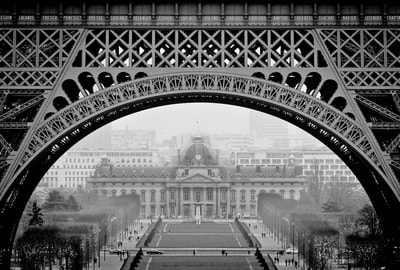
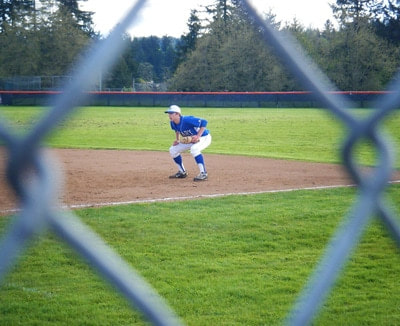
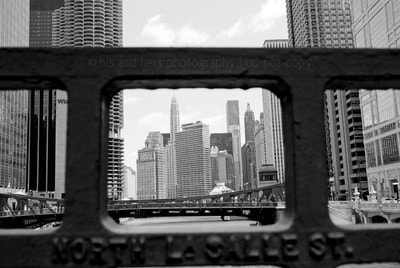
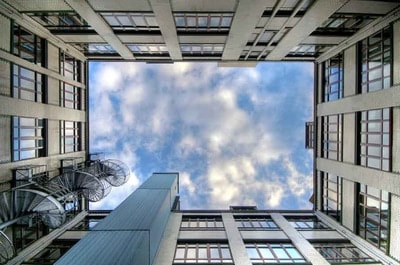
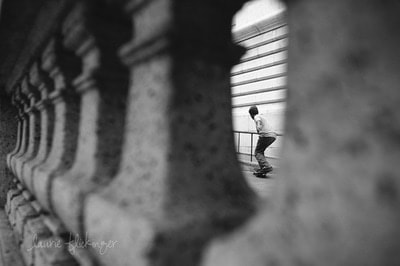
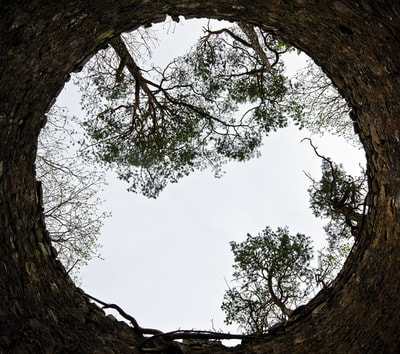
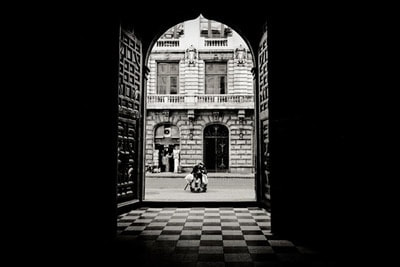
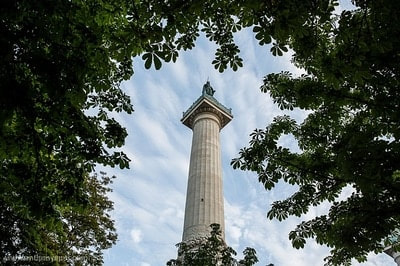
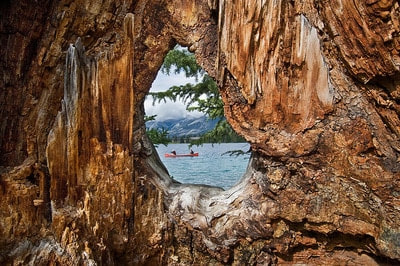
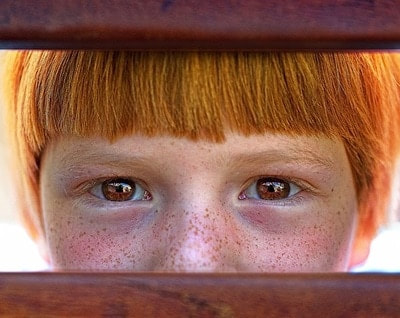
COMPOSITION: FRAMING
STRUCTURE

SHAPE


LIGHT

ENVIRONMENTAL

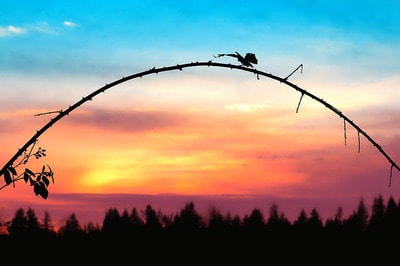

LINE

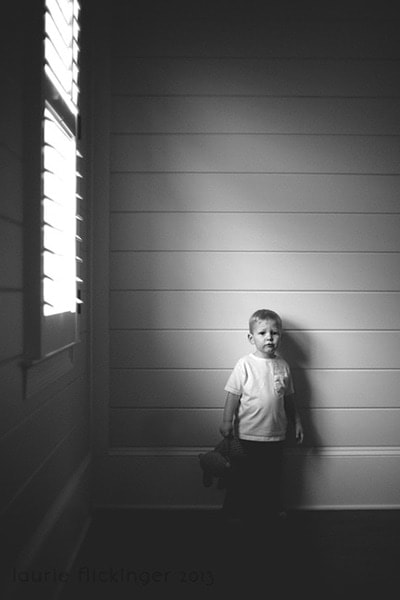
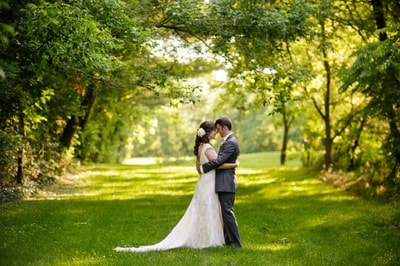
Natural Lighting
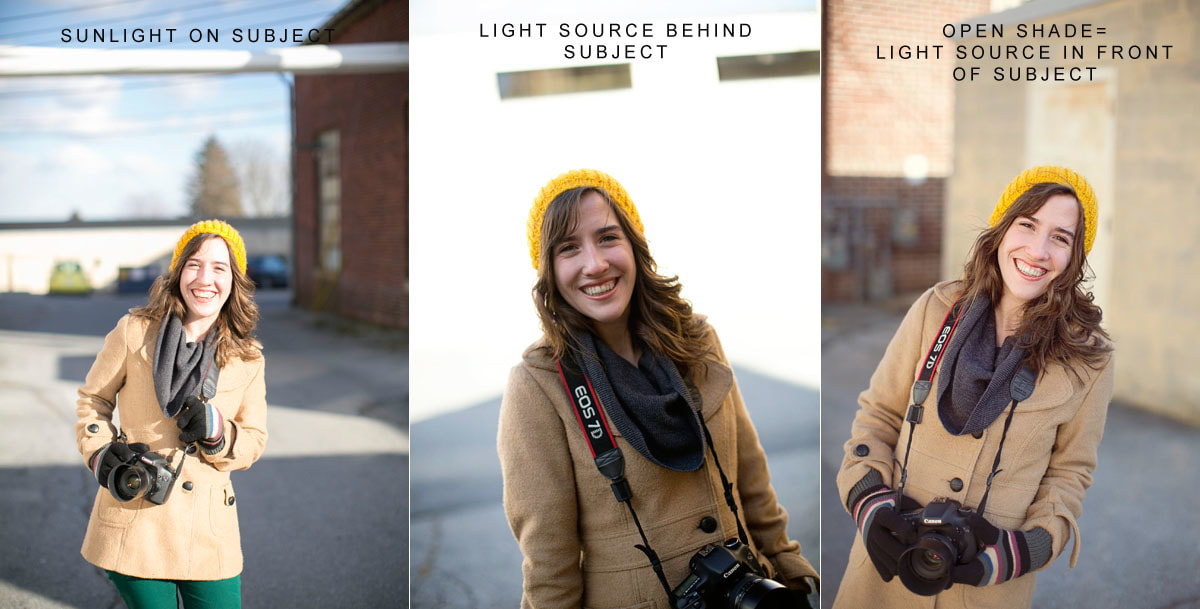
OPEN SHADE
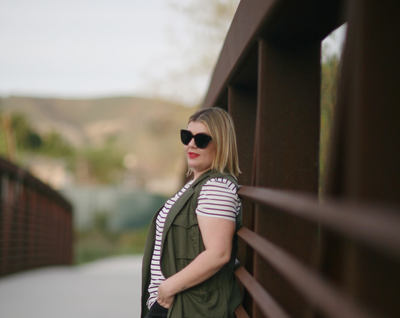
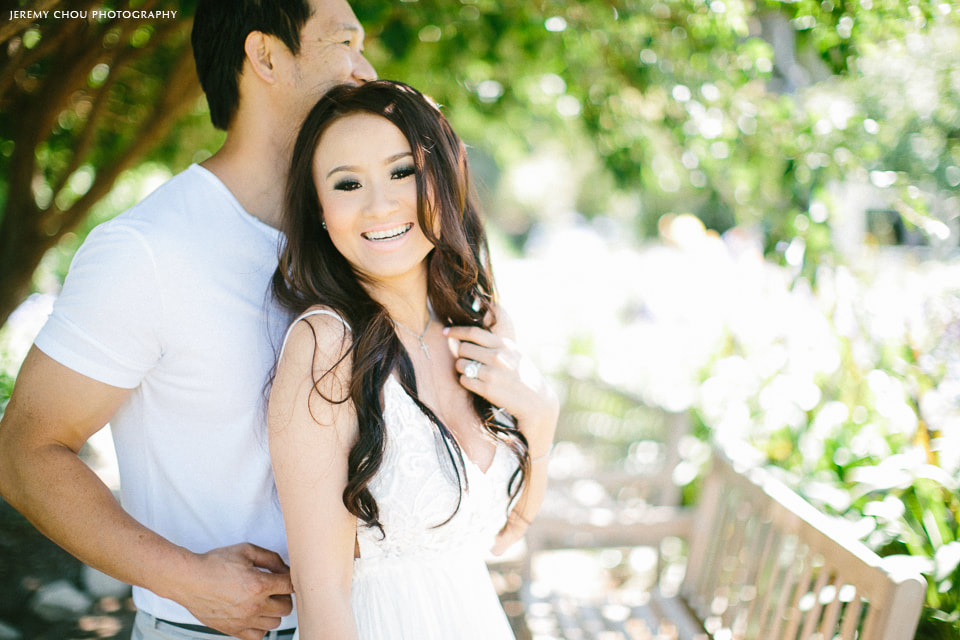
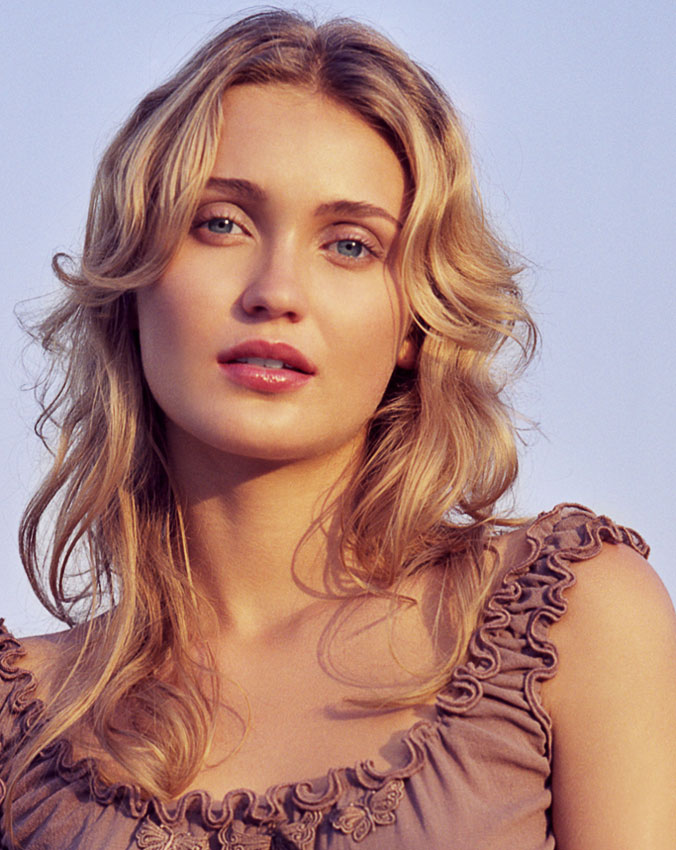
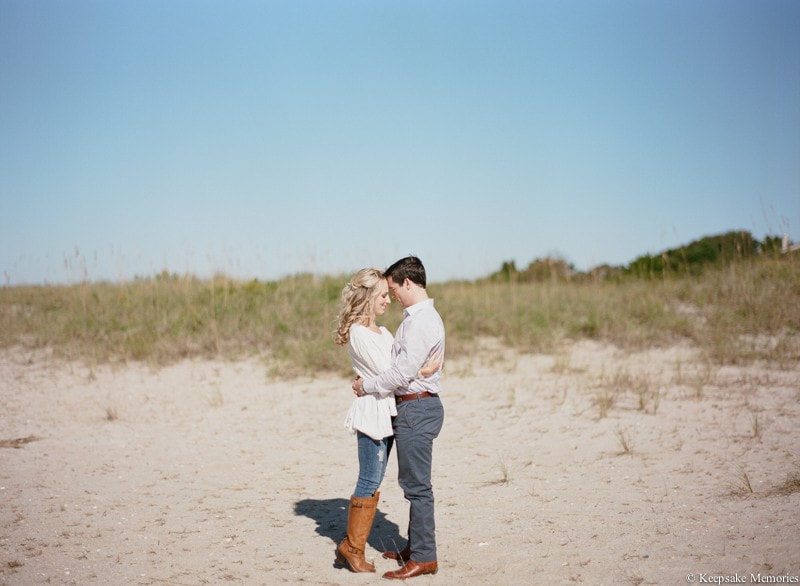
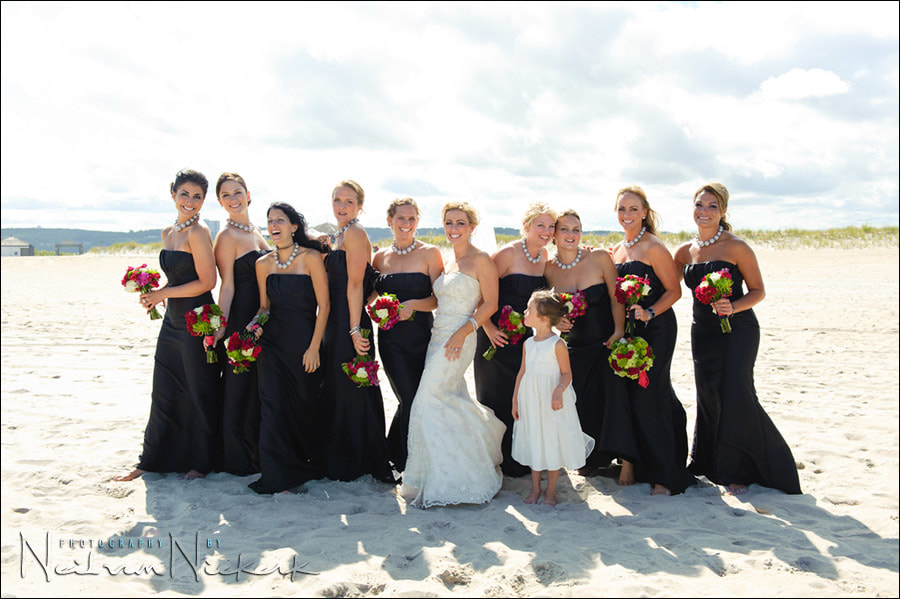
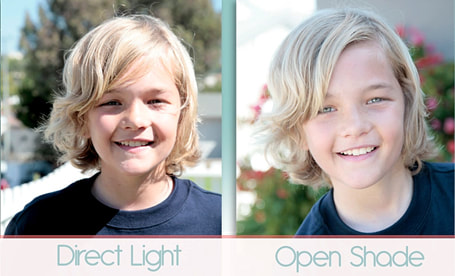
Open shade is found in an area that is shaded from direct sunlight but is illuminated by reflected light. Open shade can be found in a variety of places such as in the shadow of a building, right inside your front door, under a big tree, or even right inside your garage – with the door open of course! Why do we like it? fewer shadows on the face (no raccoon eyes!). Even lighting.
Open shade is found in an area that is shaded from direct sunlight but is illuminated by reflected light. Open shade can be found in a variety of places such as in the shadow of a building, right inside your front door, under a big tree, or even right inside your garage – with the door open of course! Why do we like it? fewer shadows on the face (no raccoon eyes!). Even lighting.
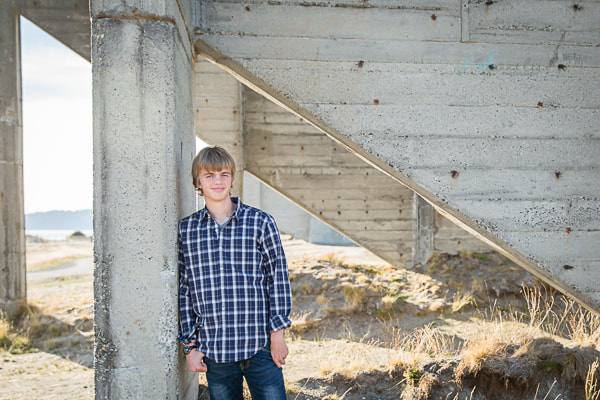


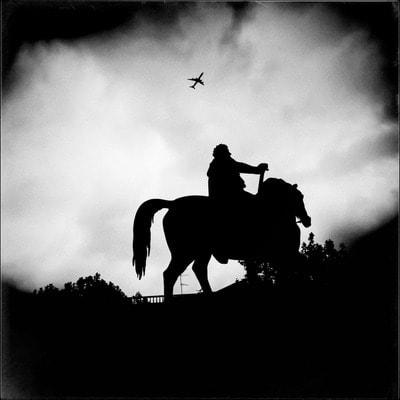
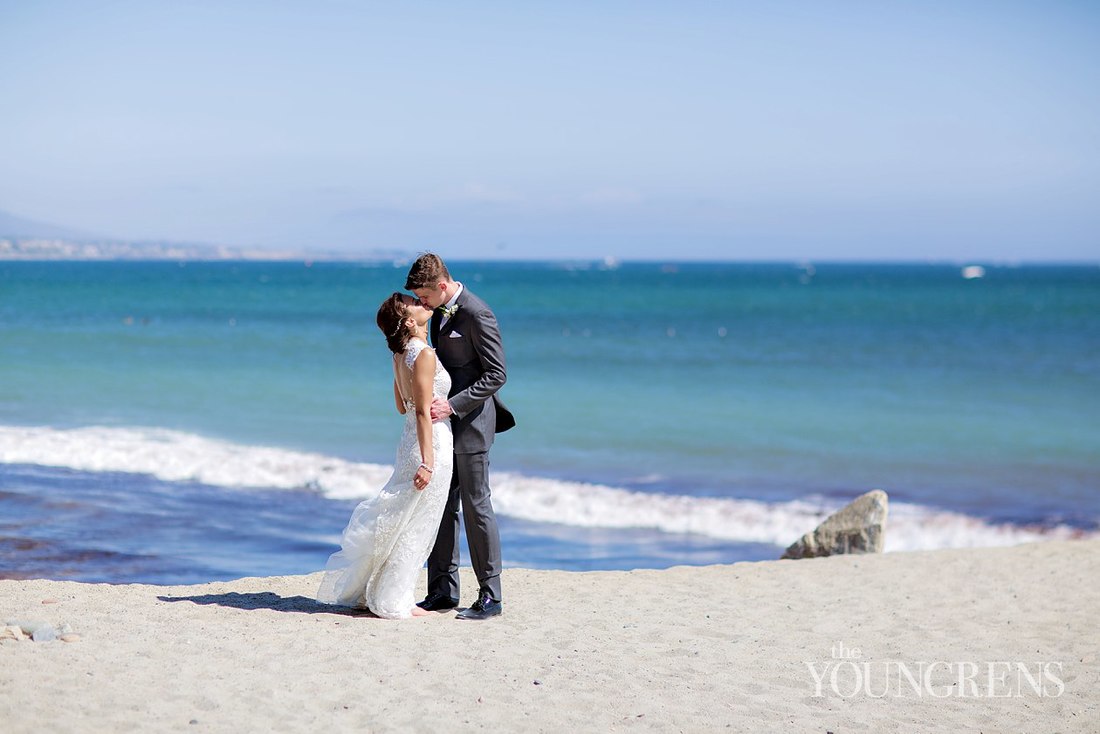
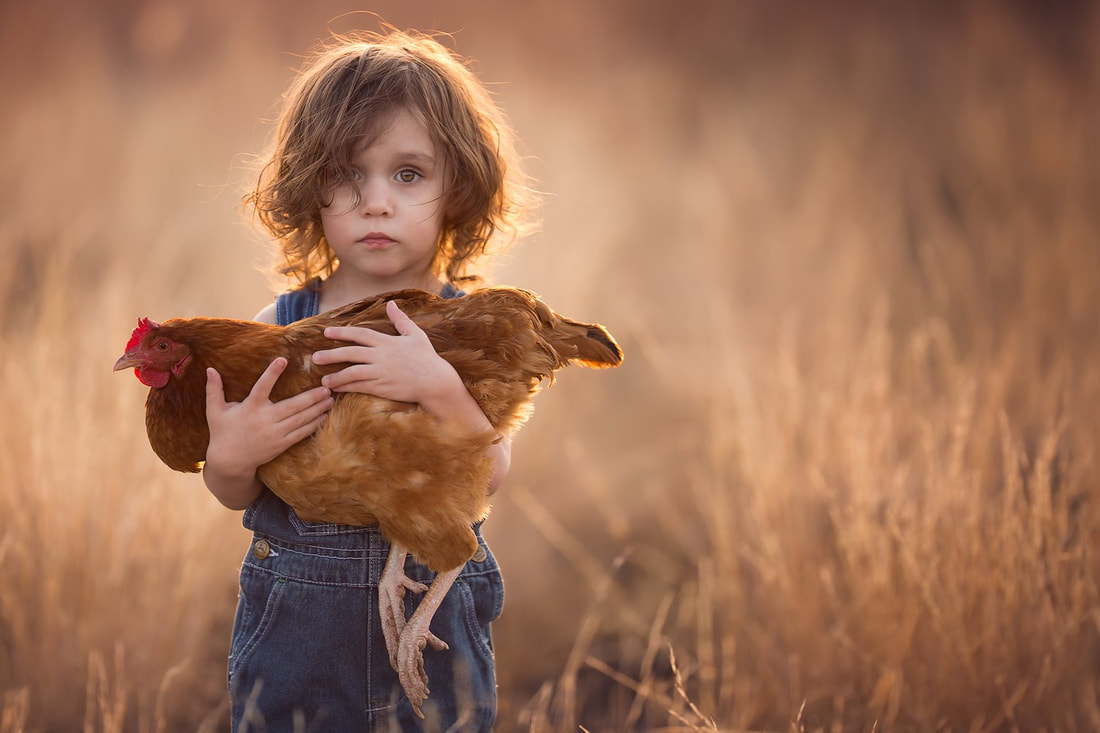
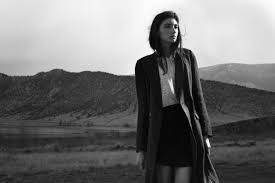
DIRECT SUNLIGHT
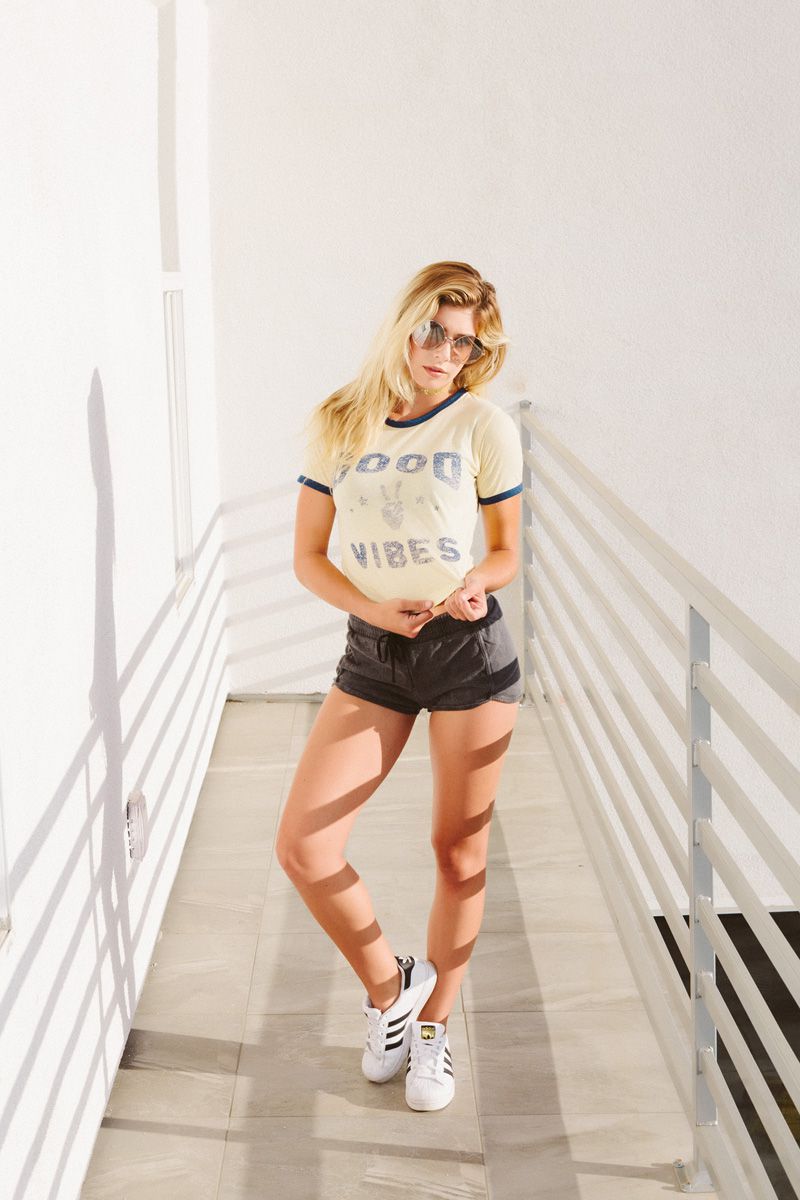
Direct light is the absence of light on any other side except the side with a single light source. It can be difficult to photograph flattering portraits in (and is best utilized in still life and landscapes). Reflectors can be helpful in bouncing light in more flattering ways. While this may not be ideal light for portraits, embracing the light can create beautiful photos! Shadows are to the back/back side.
Direct light is the absence of light on any other side except the side with a single light source. It can be difficult to photograph flattering portraits in (and is best utilized in still life and landscapes). Reflectors can be helpful in bouncing light in more flattering ways. While this may not be ideal light for portraits, embracing the light can create beautiful photos! Shadows are to the back/back side.

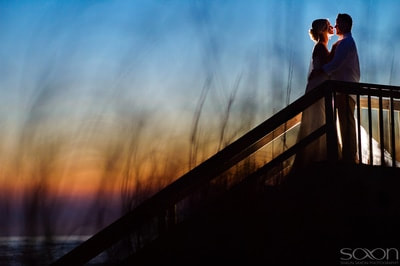
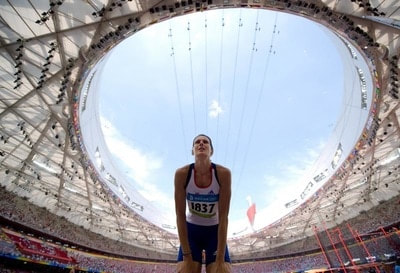
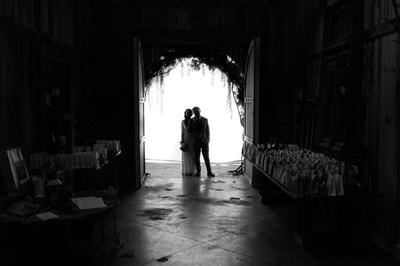
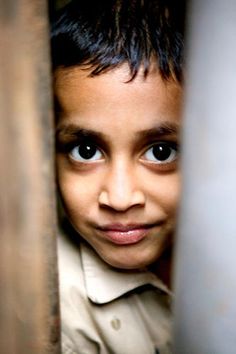
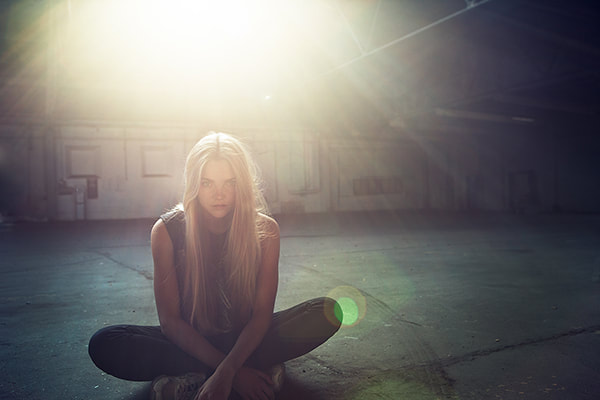
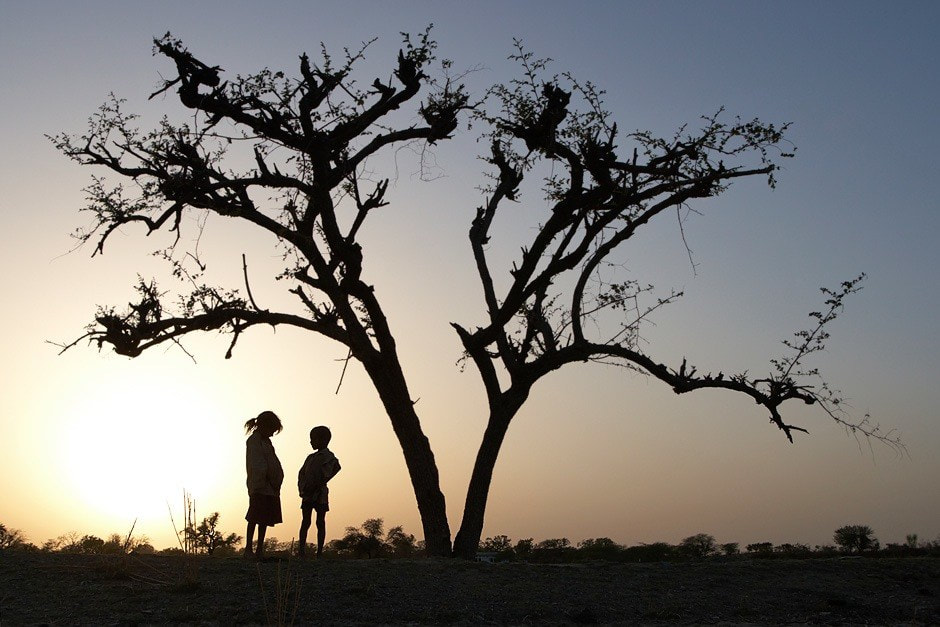
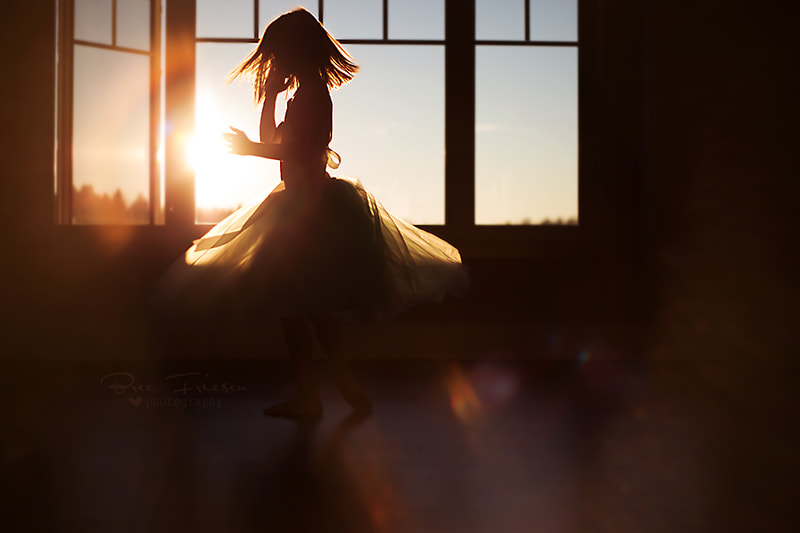
BACKLIT
Backlighting, defined in the simplest of ways, refers to the main source of light behind the photography subject. In other words, the main light (or one of the main lights) is positioned in such a way that it faces the camera. The subject is then placed in the middle of the light and the camera. This creates a certain glow effect at the edges or at the back of the subject
Backlighting, defined in the simplest of ways, refers to the main source of light behind the photography subject. In other words, the main light (or one of the main lights) is positioned in such a way that it faces the camera. The subject is then placed in the middle of the light and the camera. This creates a certain glow effect at the edges or at the back of the subject

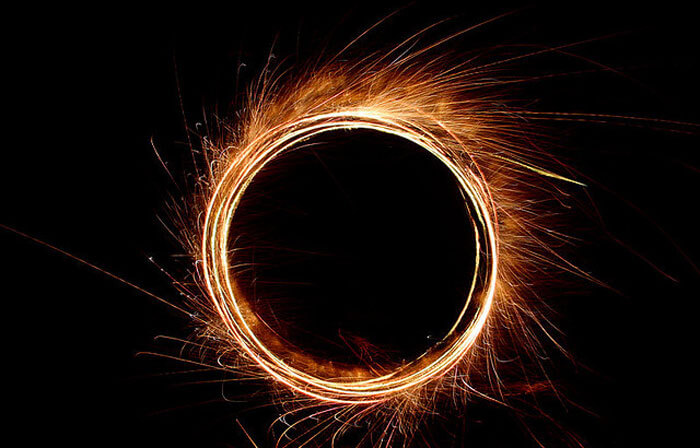
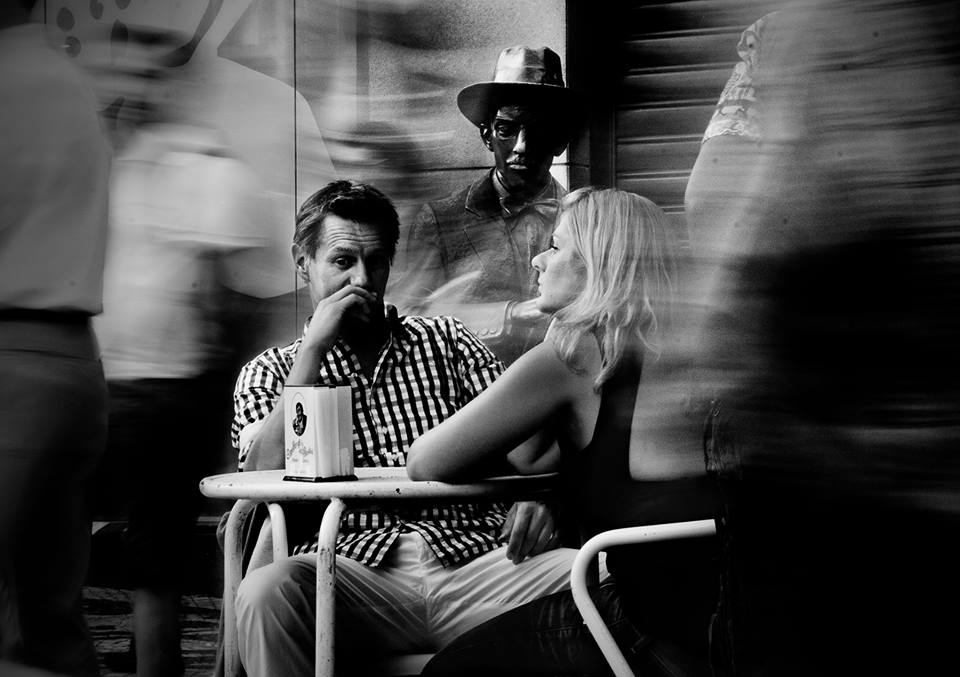
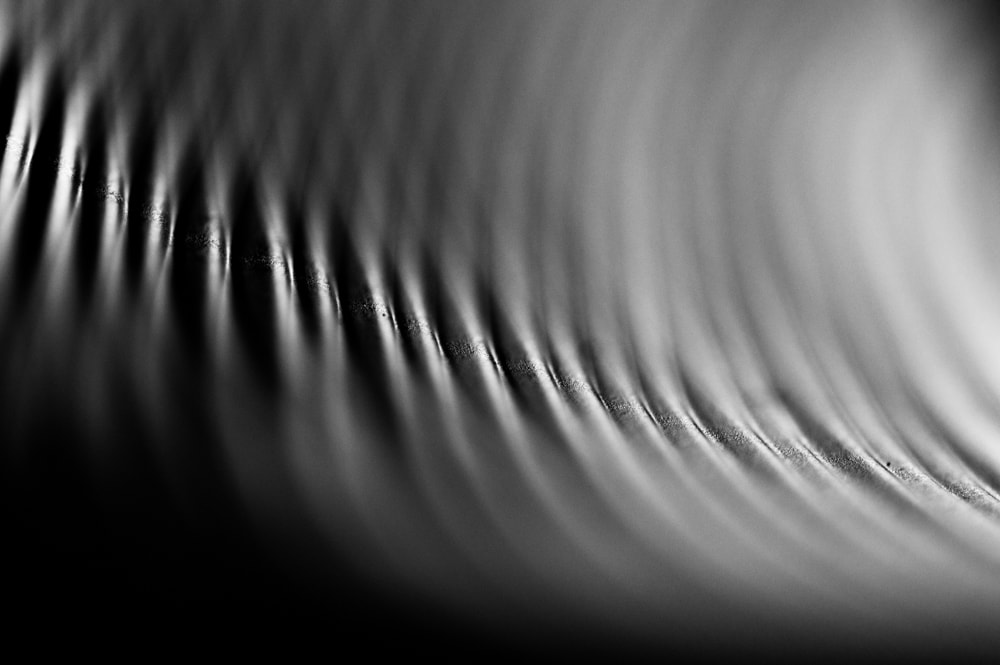
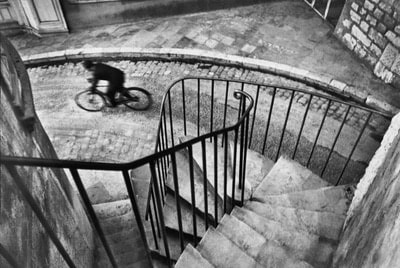
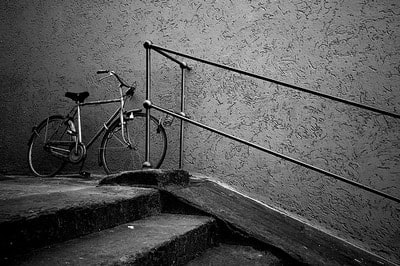
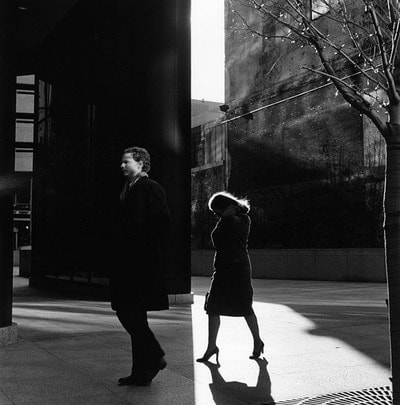
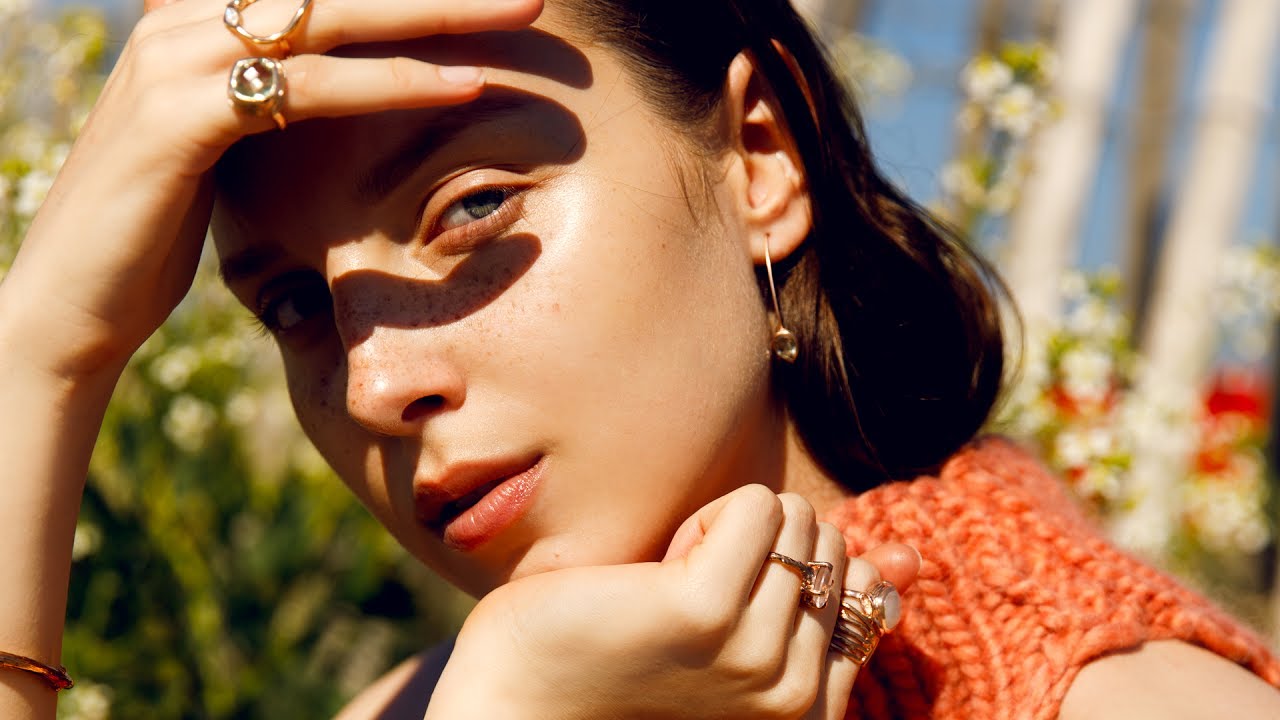
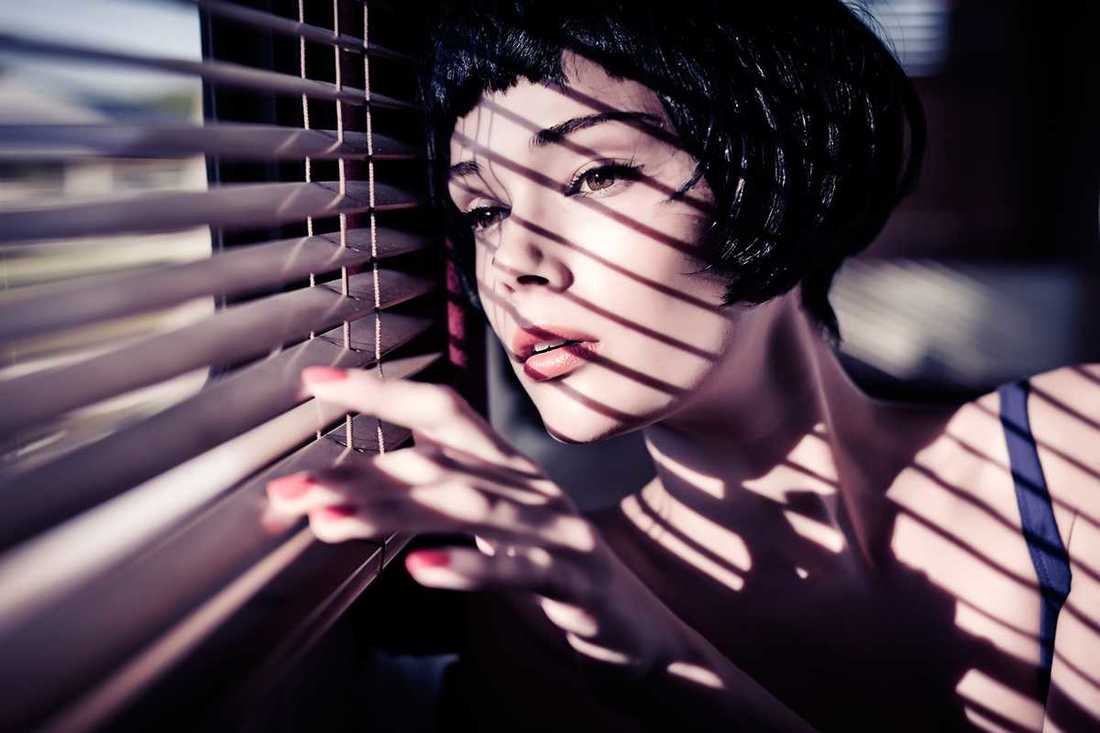
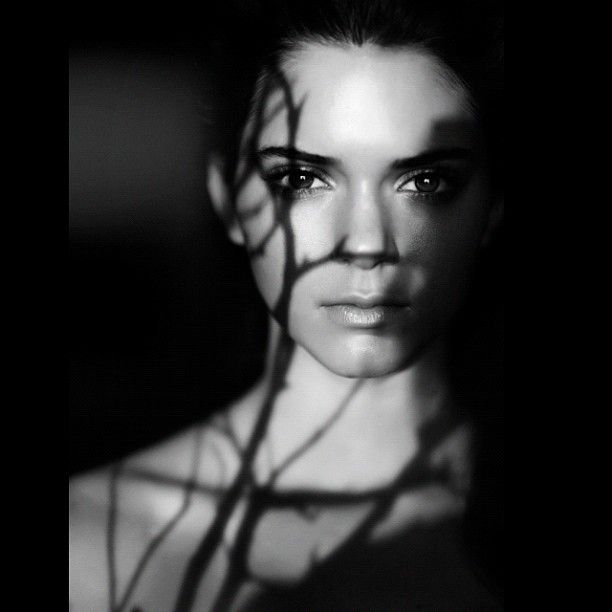
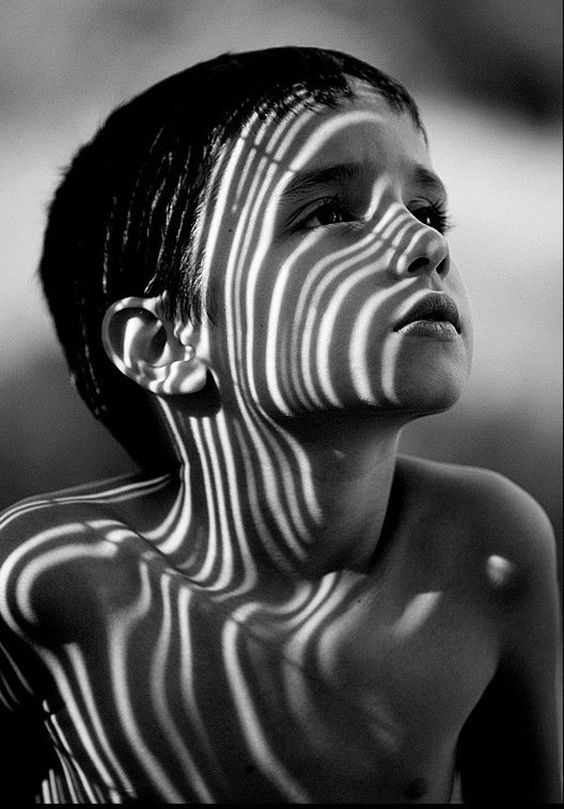
SHADOW PLAY
Interesting lighting situation? Lean into it! Use the shadows and interesting light to create something new and unique! Keep your eyes out for different lighting situations!
Interesting lighting situation? Lean into it! Use the shadows and interesting light to create something new and unique! Keep your eyes out for different lighting situations!


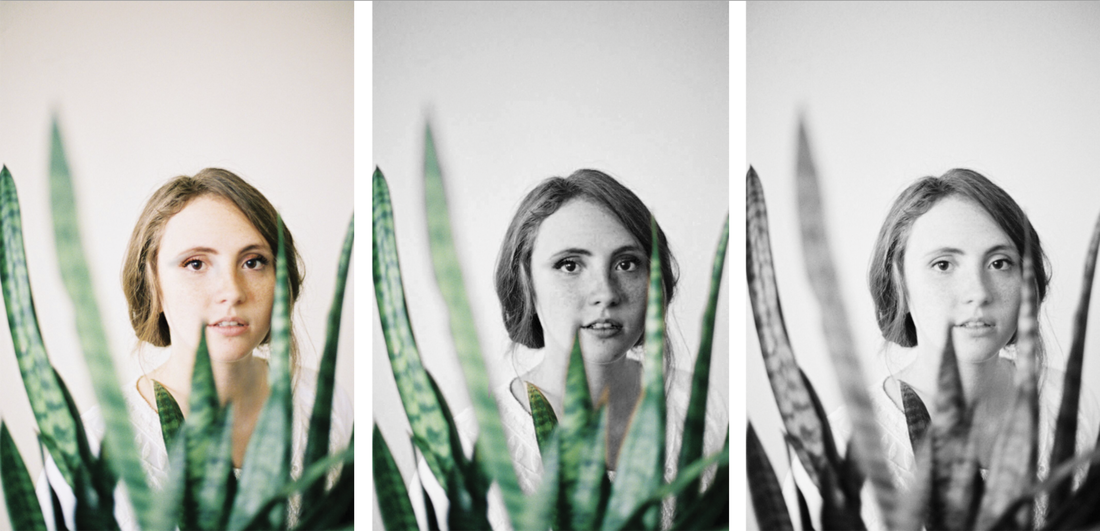
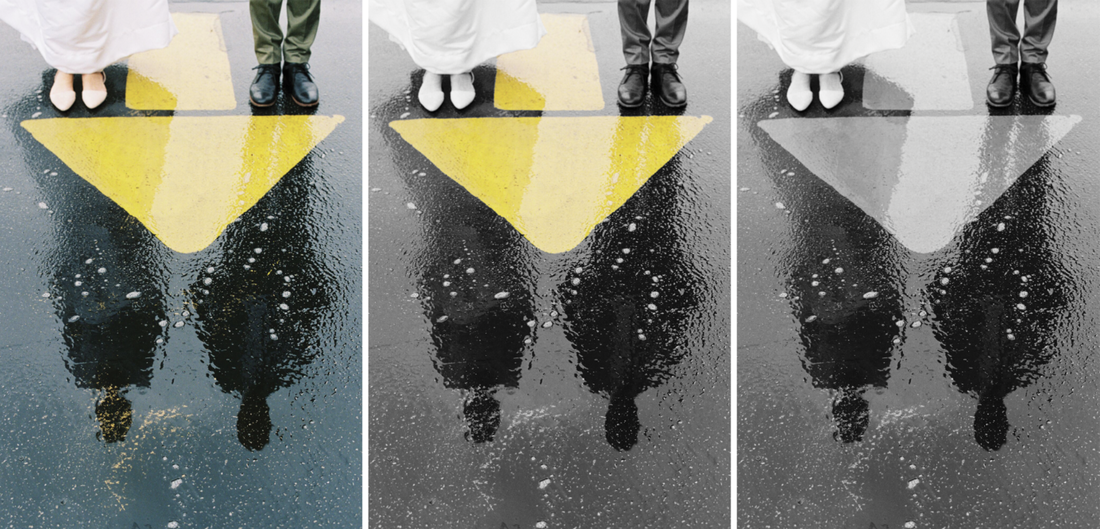
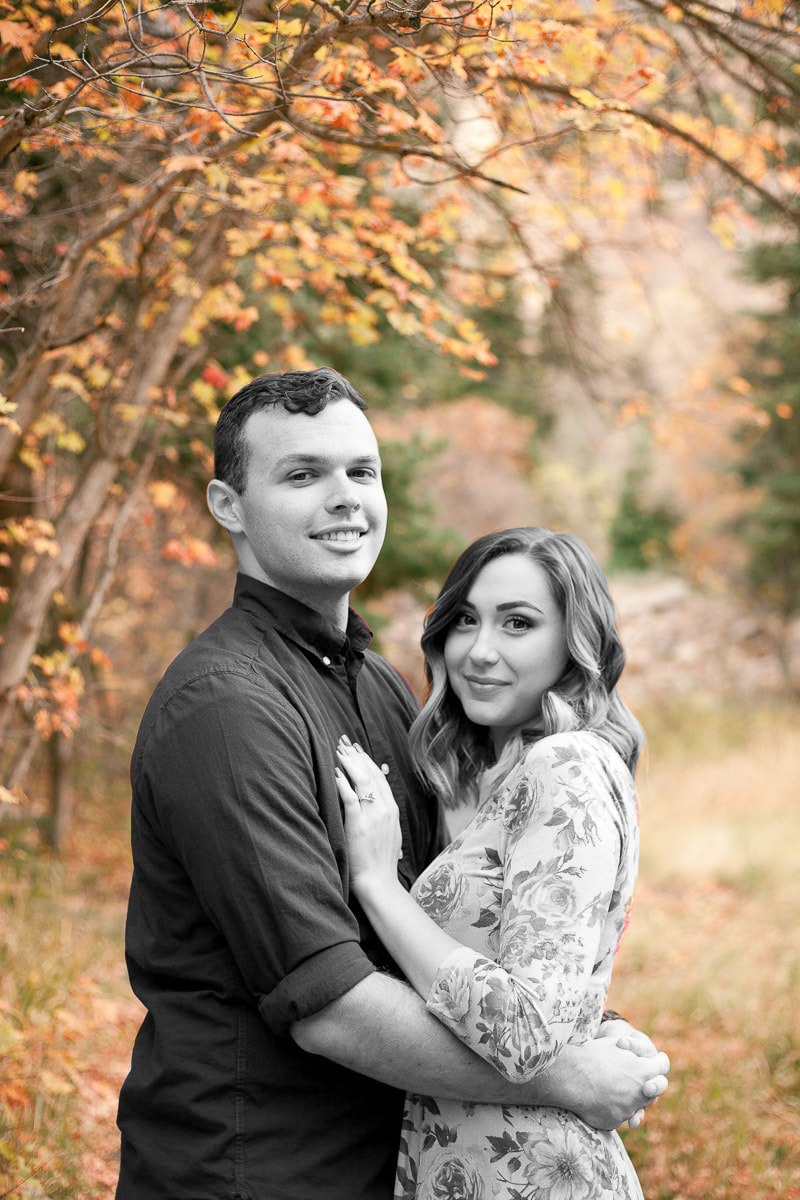
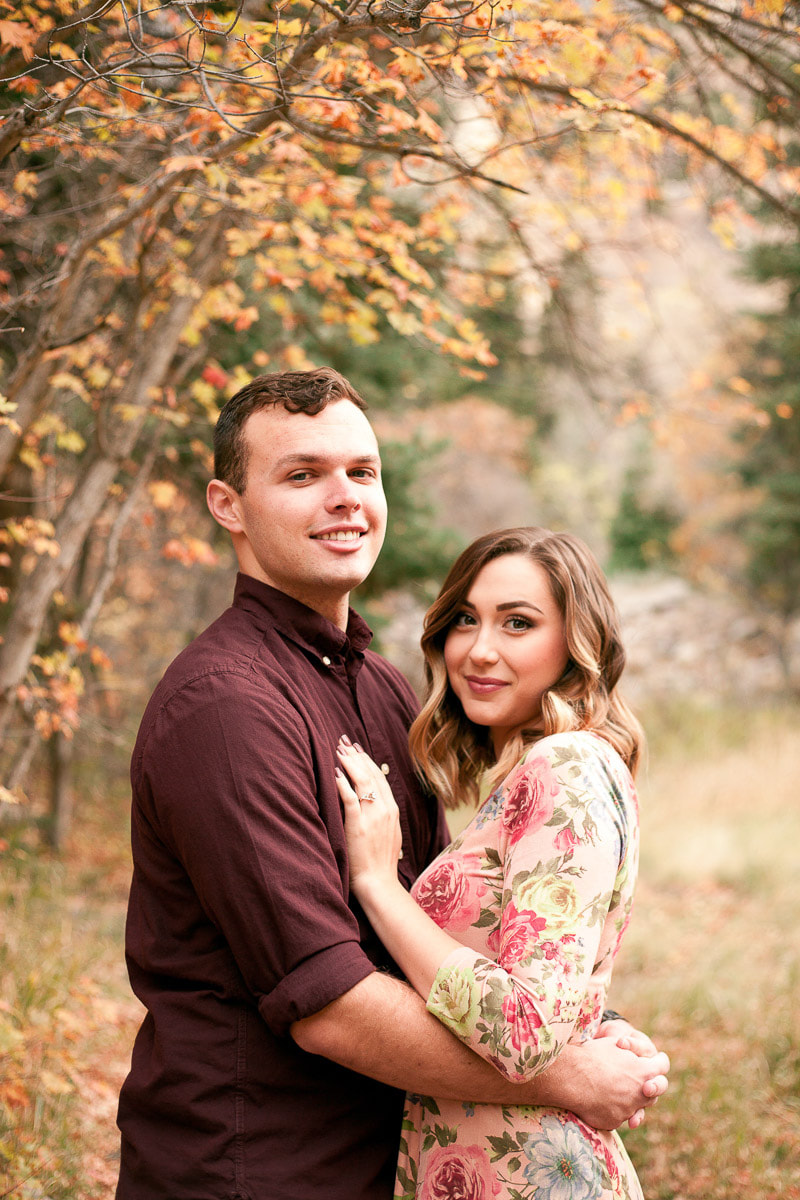
COMPARISONS


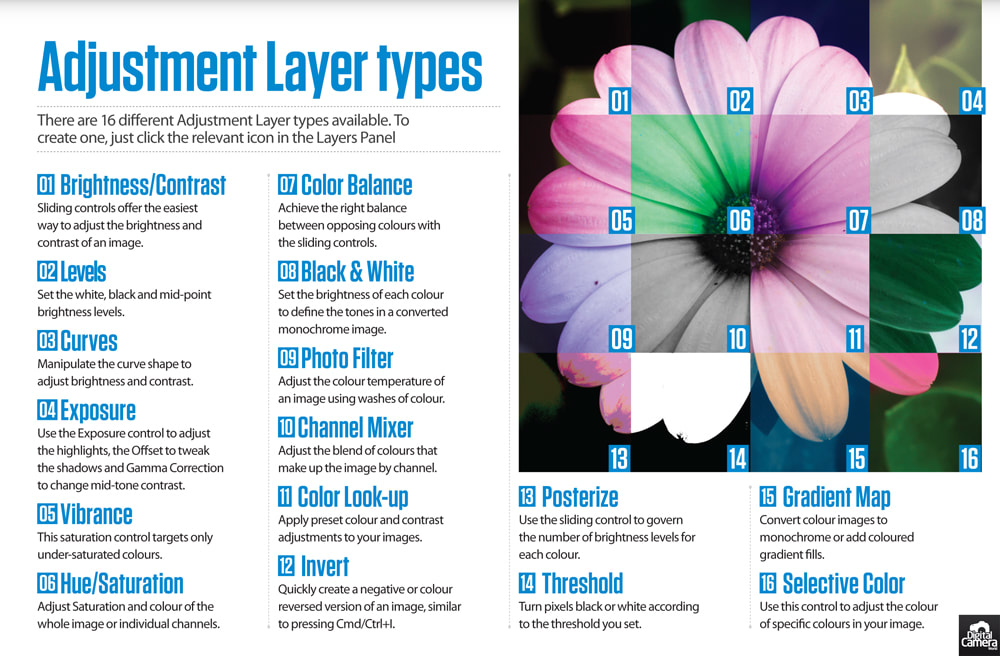
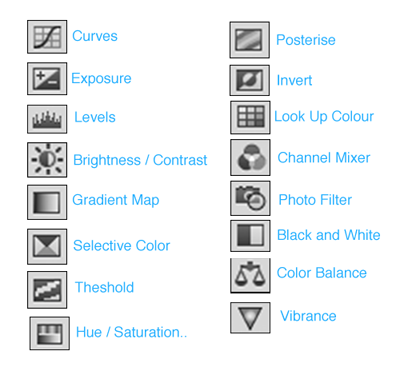
Adjustment Layers in Photoshop
TYPES OF CAMERAS
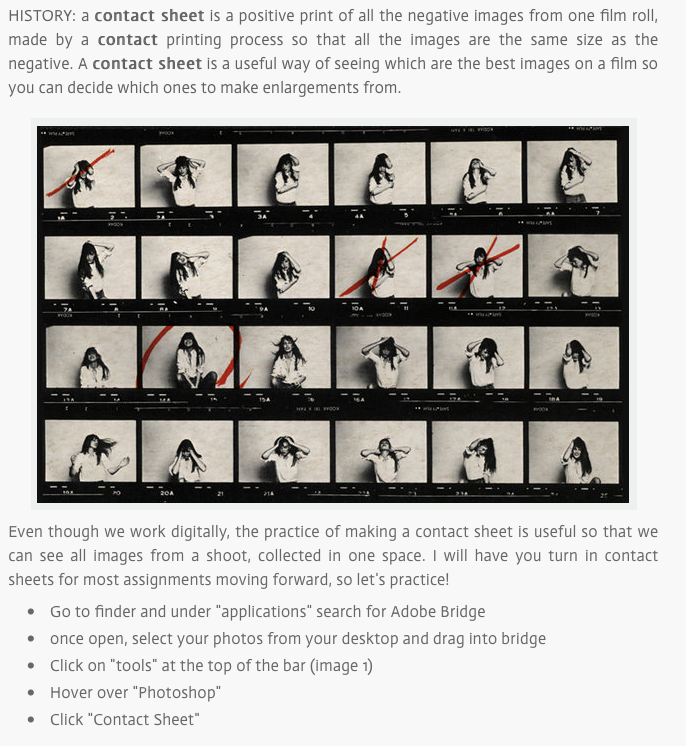
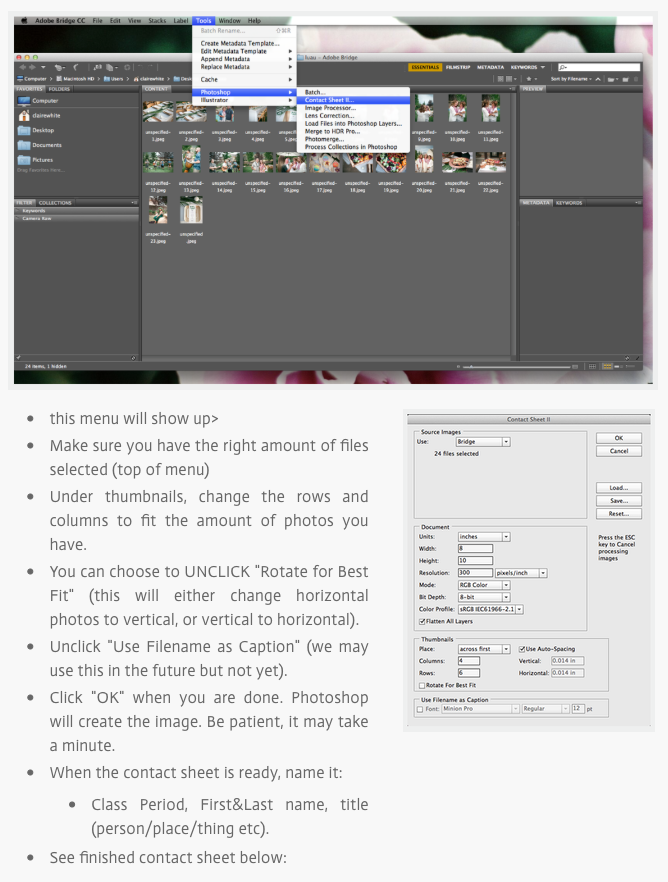
HOW TO MAKE A CONTACT SHEET

USER MANUALS
When you ask a professional how to use a camera, they'll likely say two things. 1. Just start shooting! and 2. Read your camera manual!! It may seem like a laborious task, but doing so will prevent you from making mistakes and prepare you to take the best photos possible!